Help
Table of Contents
What is PIPLweb?
The Plover Inventory & Productivity Library (PIPLweb) makes it easy to maintain, analyze, report and share your Atlantic Coast Piping Plover monitoring data. Built around a common set of metrics, collected annually across the plover breeding range, PIPLweb provides everyone from field technicians and site managers to statewide and regional coordinators with data and decision-support tools that can inform species management.
Developed as part of the U.S. Fish and Wildlife Service’s Regional Protocol Framework for the Inventory and Monitoring of Breeding Atlantic Coast Piping Plovers , PIPLweb is open to all organizations who manage Piping Plover breeding sites.
Accounts
Accessing the data stored in PIPLweb requires a user account. To register for an account, you must provide a valid email address. Any request to access data for a specific location (site, refuge, state, etc.) will not be granted until verfied by the appropriate data owner(s).
Register an account
-
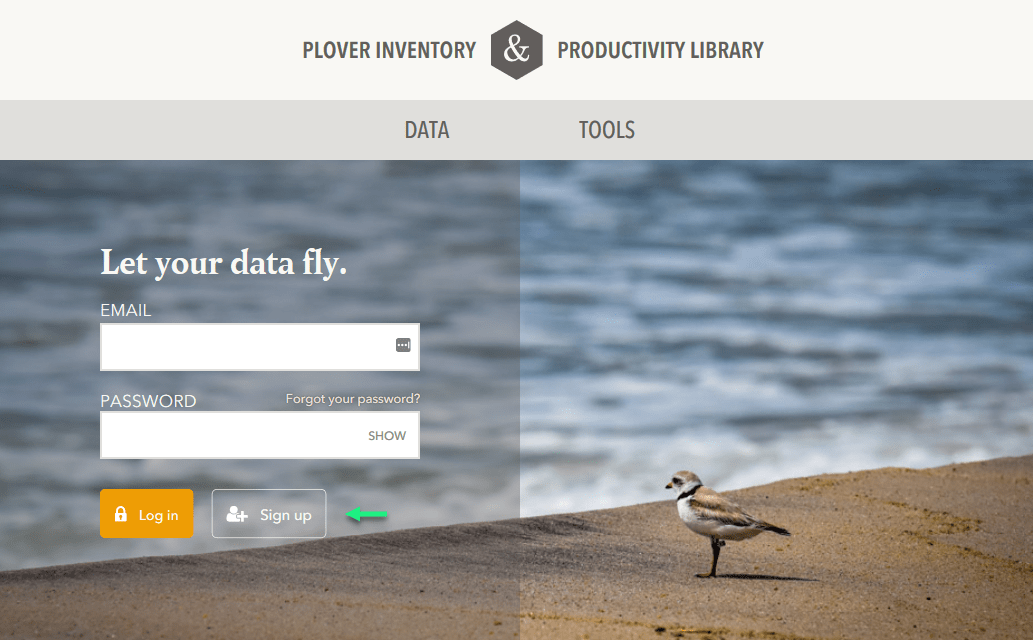
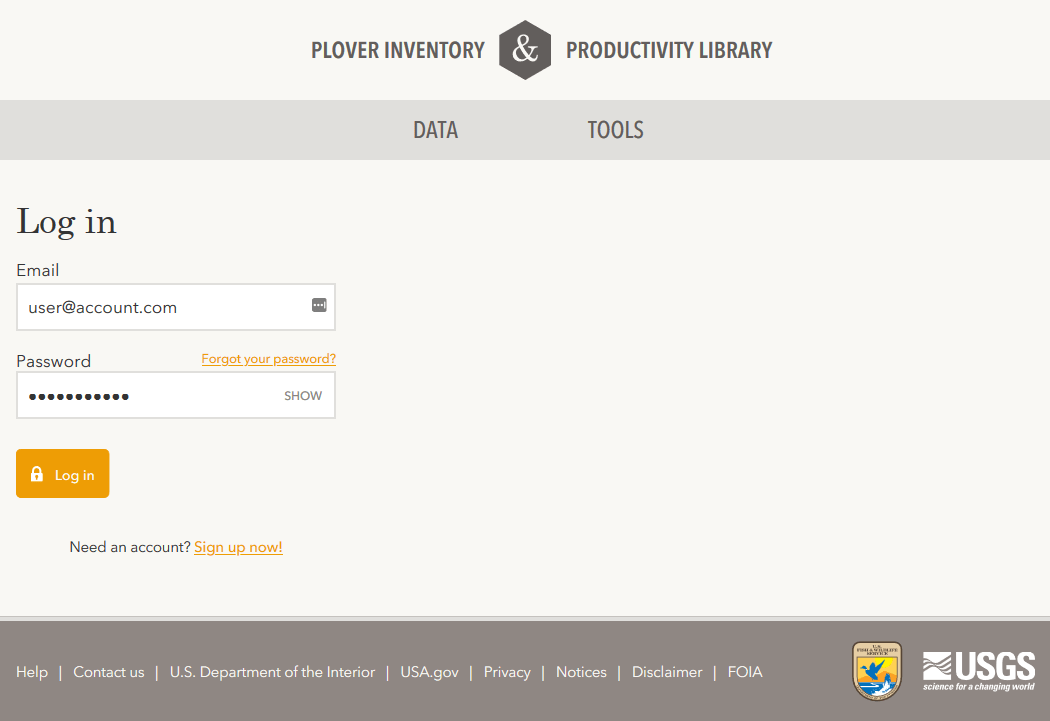
Click Sign up on the PIPLweb home page.
-
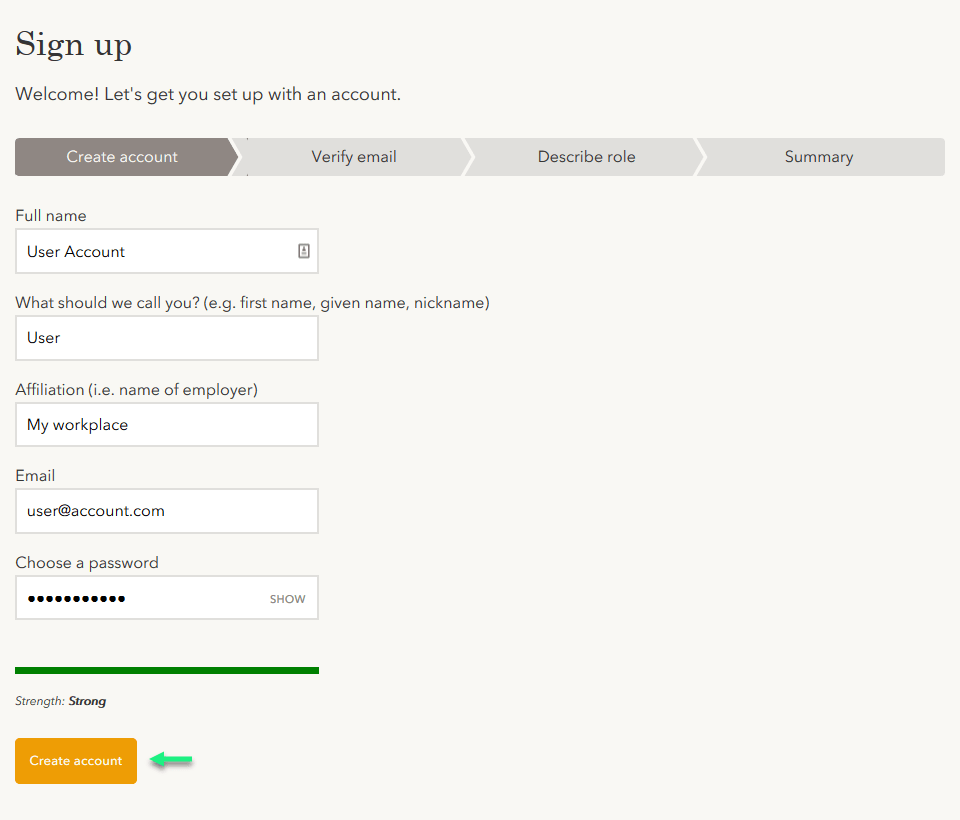
Complete the sign-up form and click Create account.
-
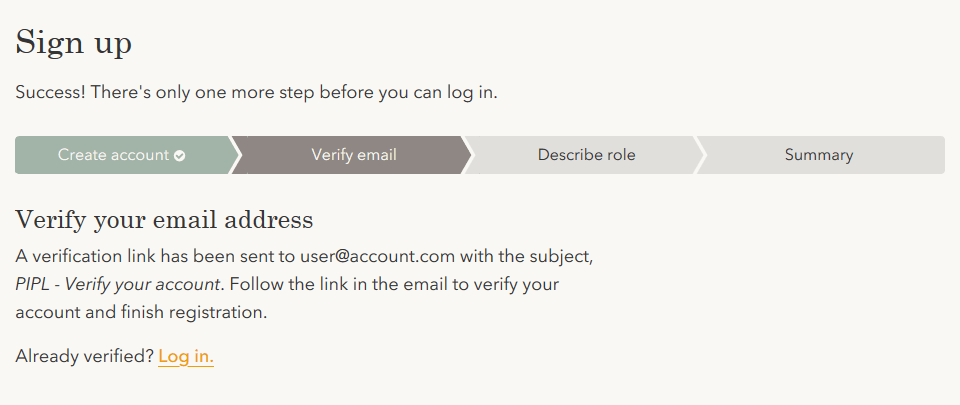
A message will be displayed asking you to verify your email address before proceeding.
-
Follow the link in the email to verify your ownership of the address.

-
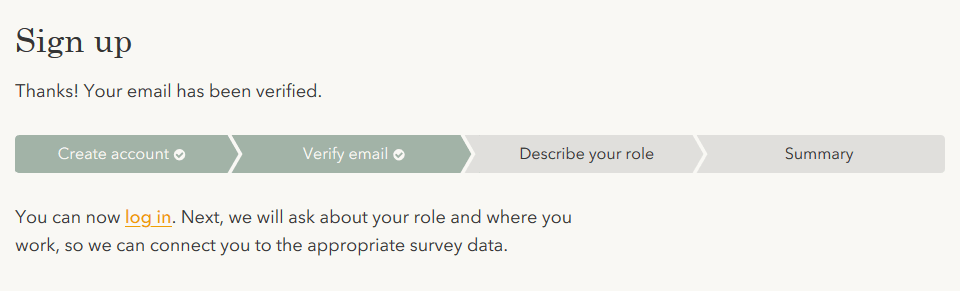
Once your email address is verified, your account will be activated. Follow the provided link to the login page.
-
Log in to the site with your email address and password.
-
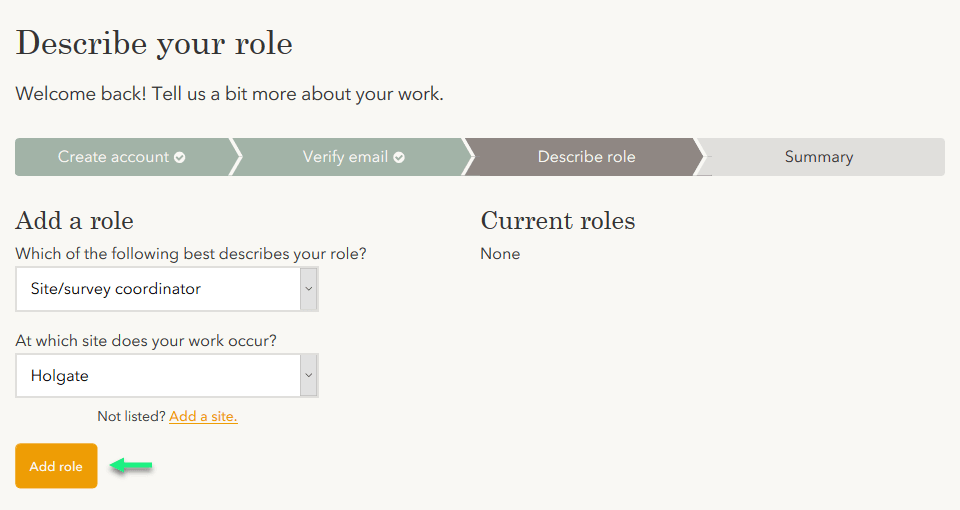
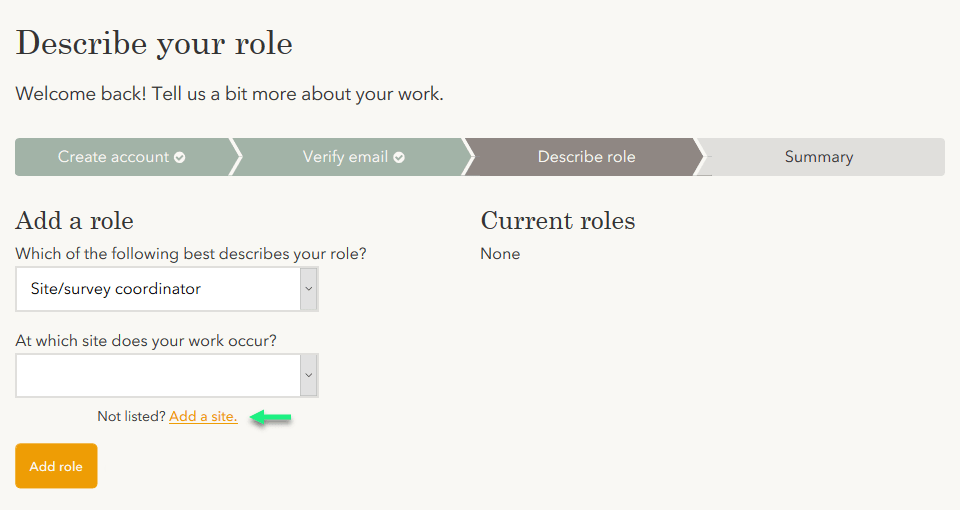
Complete your user profile by selecting the role(s) and location(s) in which you work. Click Add role to save each selection. Your choices will determine which data and actions are accessible from your account.
-
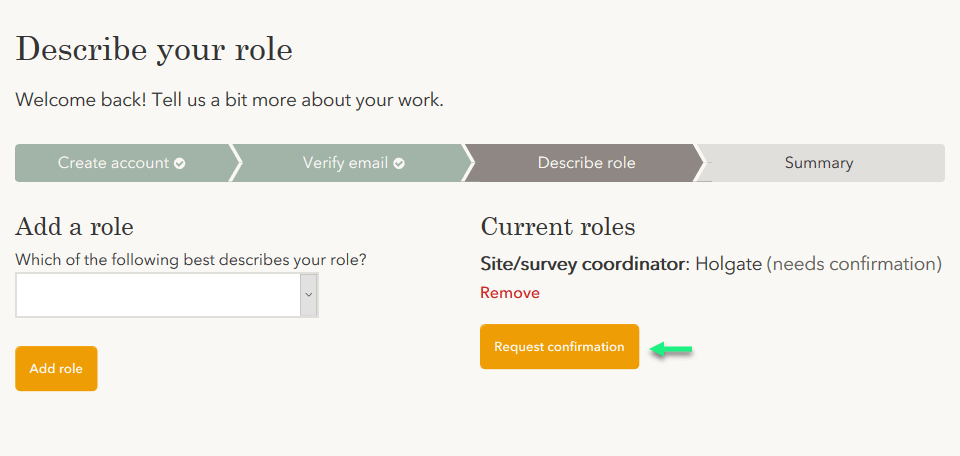
Once you have selected the appropriate role(s) and location(s), click Request confirmation to initiate the verification process. (Your selected role(s) and location(s) must be verified by the appropriate account administrator before data access is granted.)
-
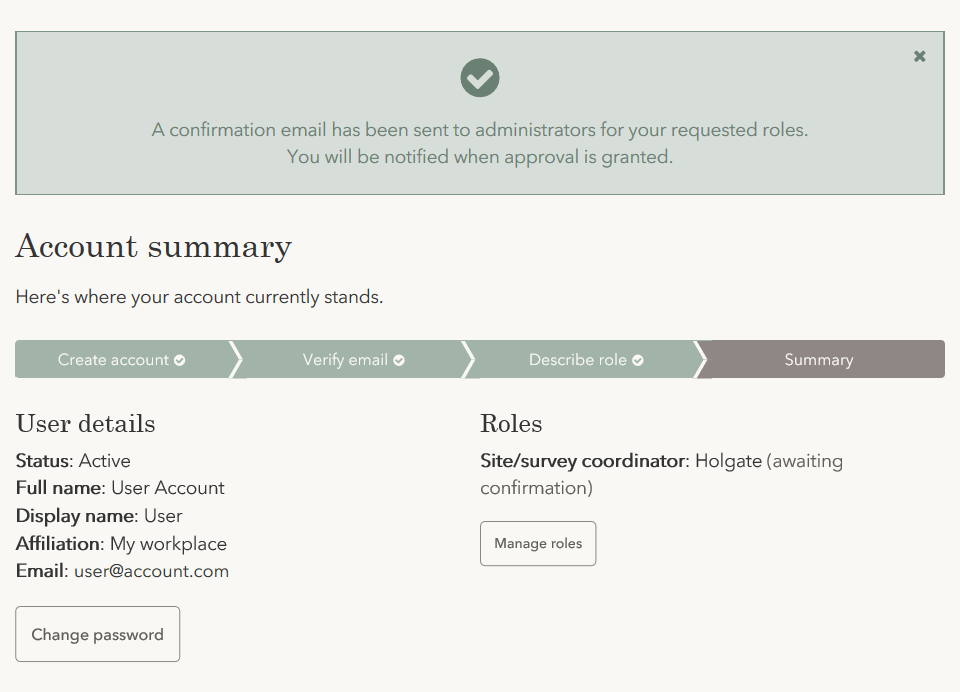
An email will be sent to each account administrator assigned to one of your requested roles, and you will be directed to your account summary page.
-
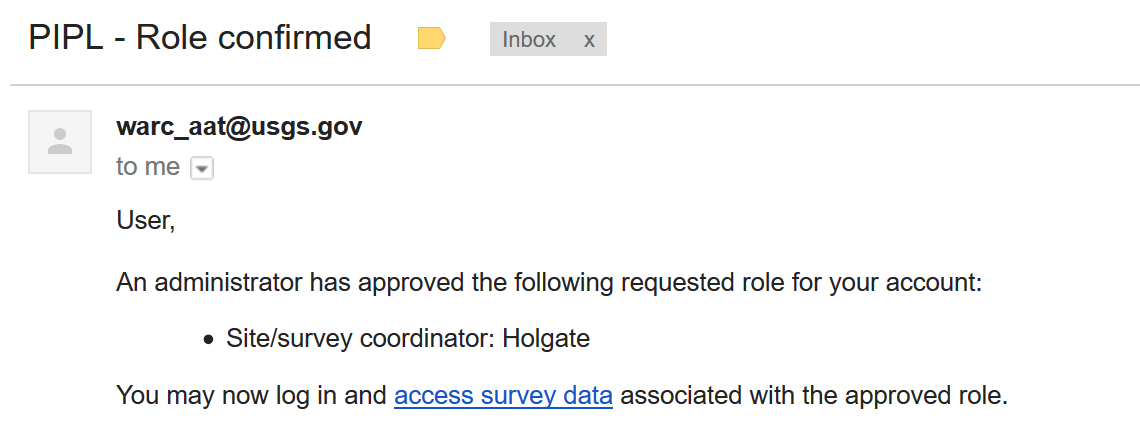
Once a requested role is approved, you will be notified via email.
-
You may now log in and access data for all approved roles on the data dashboard.
Manage your account
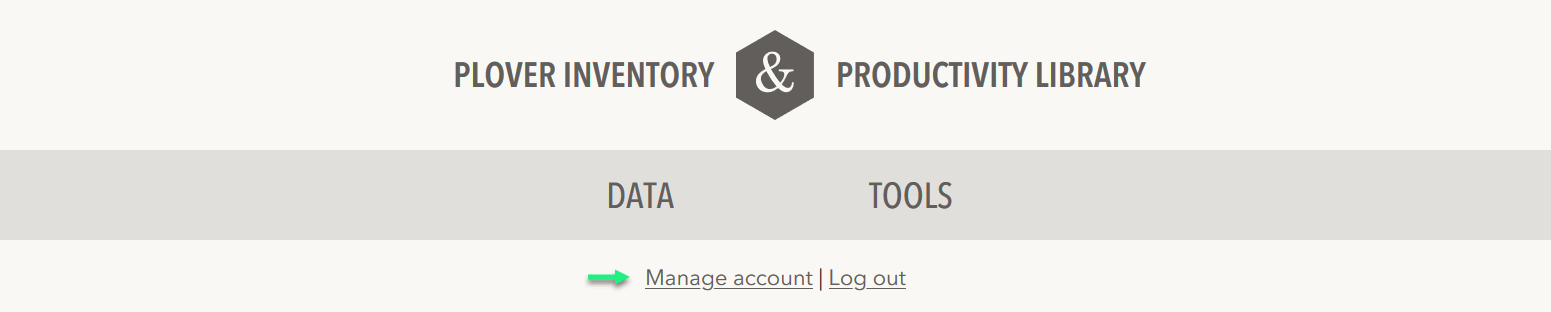
Once a user is logged in, a persistent Manage account link will be visible inside or below the banner menu.
Desktop view:

Mobile view:
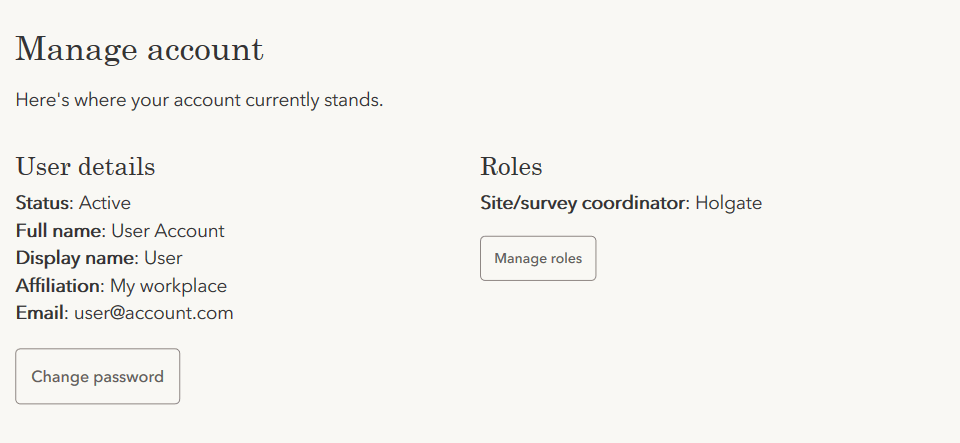
The account management page contains links to change your password and manage roles.
Roles and locations
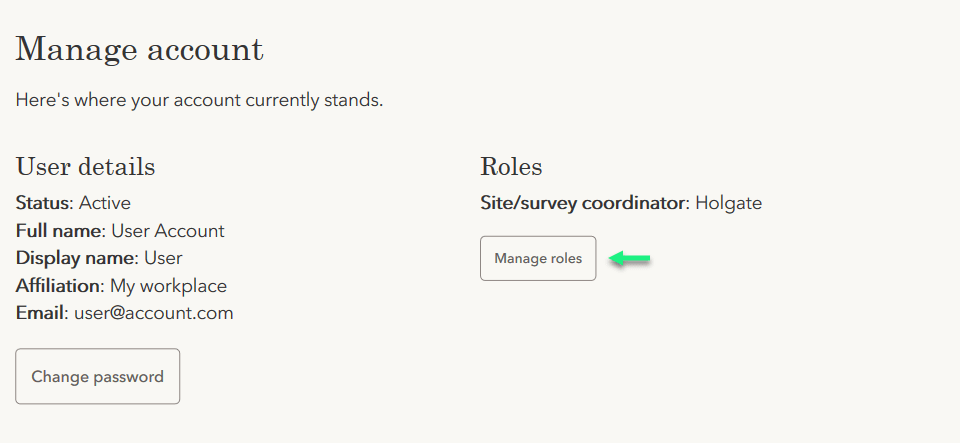
Users can manage the roles associated with their account by clicking Manage roles on the account management page.
To add a new role to an existing account, proceed from Step 7 of the Register an account section above.
To remove a role from an account, find the role name under Current roles and click Remove next to that name.

A user may assign themselves one of four roles for each location (recovery unit, state, or site) in which they work.
- Regional refuge coordinator (recovery unit)
- State coordinator (state)
- Site/survey coordinator (site)
- Survey technician (site)
A fifth role, Recovery coordinator, is reserved for users who oversee the program across all recovery units.
Add a site
When assigning a site-specific role (site/survey coordinator or survey technician), you will be required to select a site from a drop-down list of known sites. If your site is not listed, you may submit a request to add it to the database.
-
From the account management page, click Manage roles.
-
Select a site-specific role (site/survey coordinator or survey technician), then click the Add a site link below the drop-down list of known sites.
-
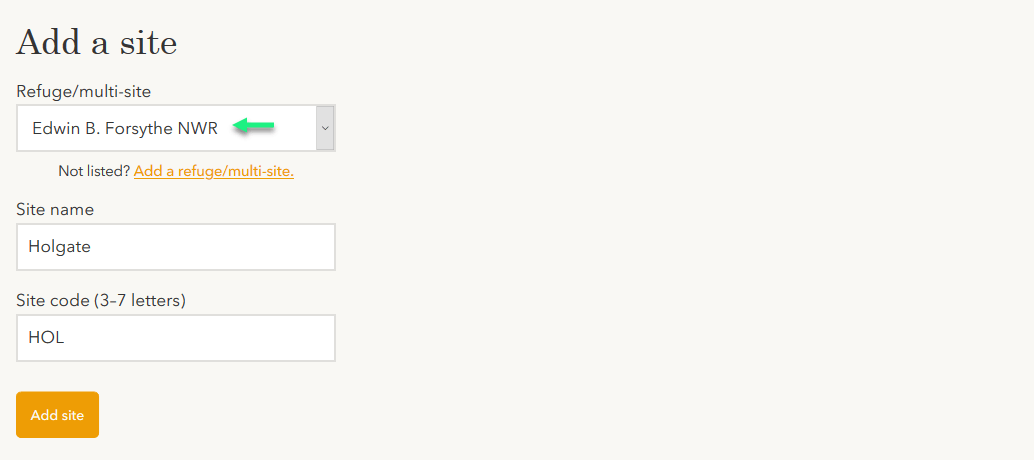
Complete the site information form and click Add site.

-
An email will be sent to administrators to review your request.

-
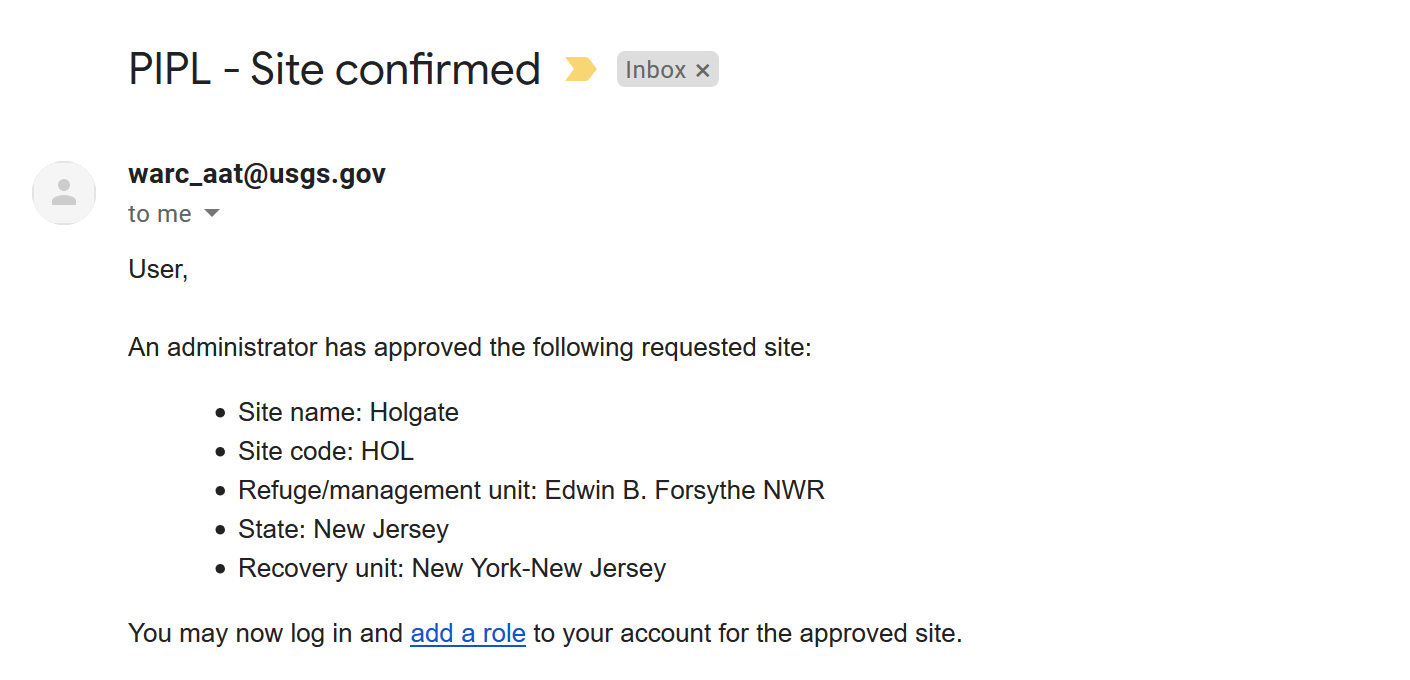
Once a requested site is approved, you will be notified via email.
-
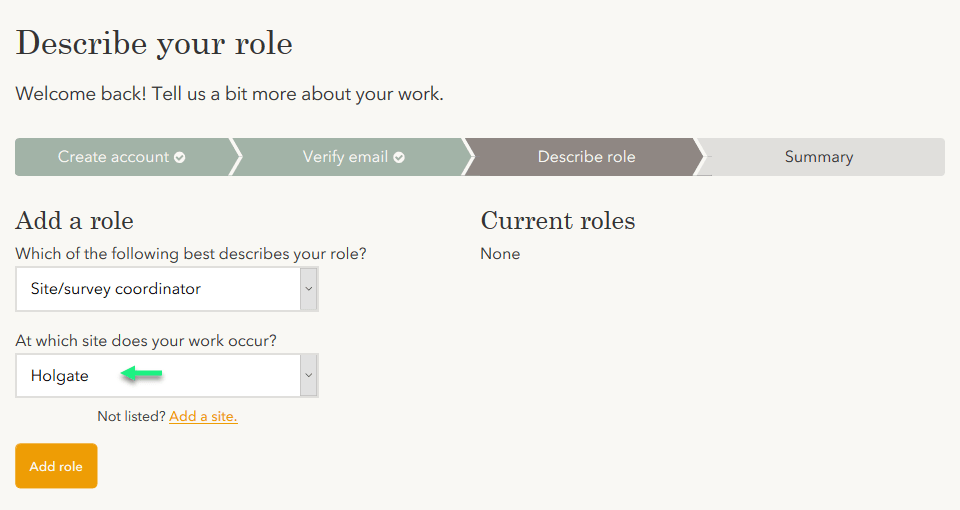
The requested site will now be available in the drop-down list of known sites.
Add a refuge or multi-site
Locations are stored in PIPLweb under the hierarchical structure, site → refuge/multi-site → state → recovery unit. The term multi-site is used here to mean a group of non-refuge sites within a state that are associated by some common entity (managing organization, landowner, etc.).
When adding a new site to PIPLweb, you will be required to select a refuge or multi-site from a drop-down list of known refuges and multi-sites. If your refuge or multi-site is not listed, you may submit a request to add it to the database.
-
Click Manage roles on the account management page.
-
Select a site-specific role (site/survey coordinator or survey technician), then click the Add a site link below the drop-down list of known sites.
-
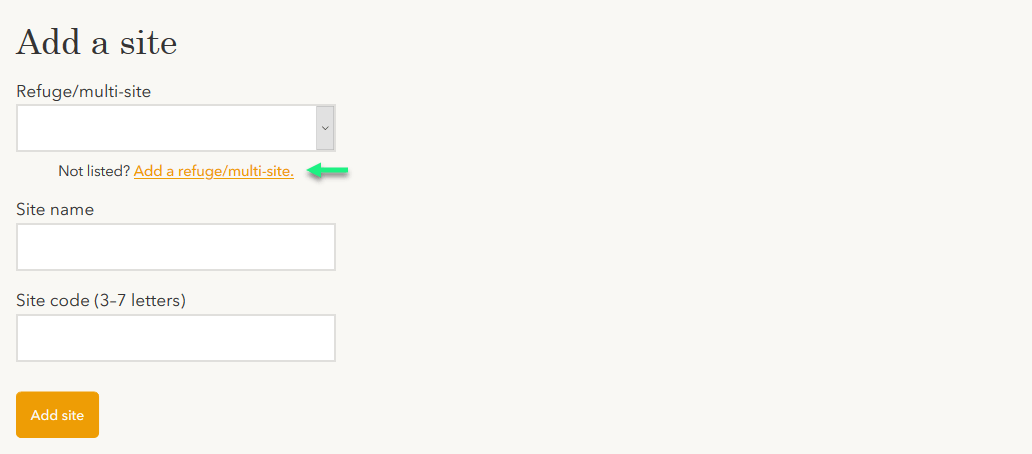
Once the site information form is displayed, click the Add a refuge/multi-site link.
-
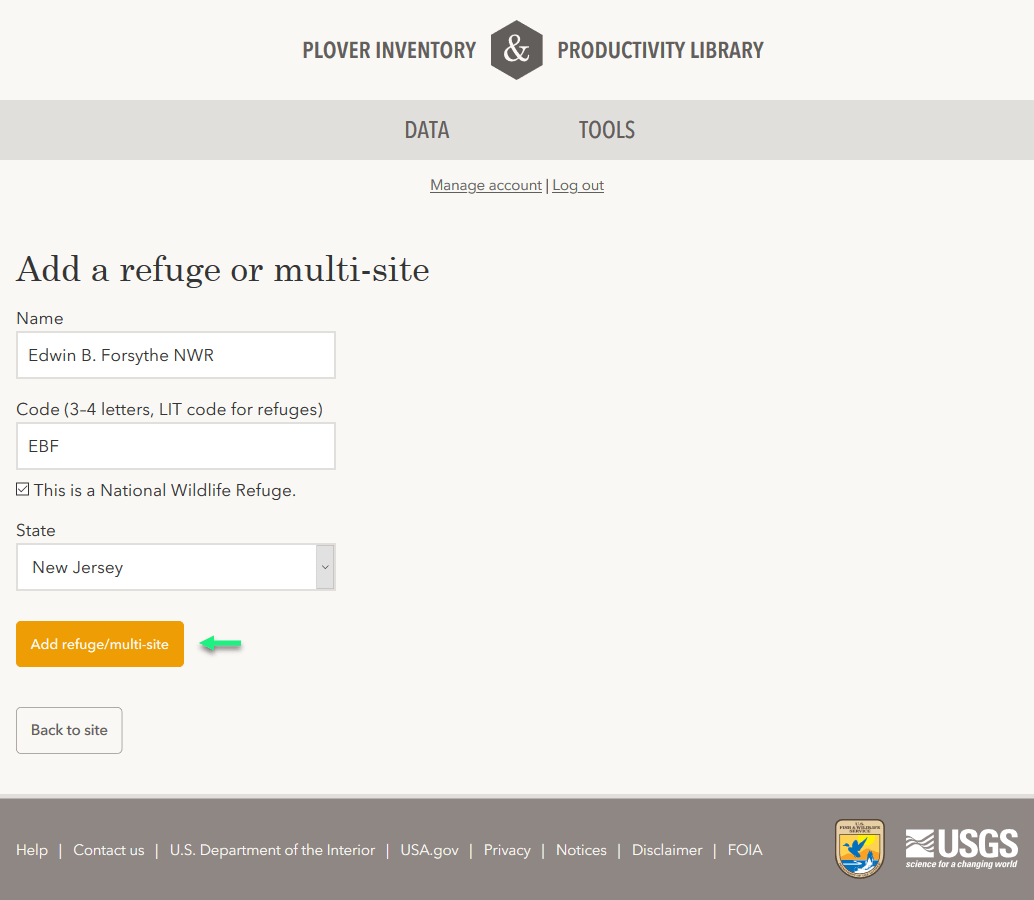
Complete the refuge/multi-site information form and click Add refuge/multi-site.
-
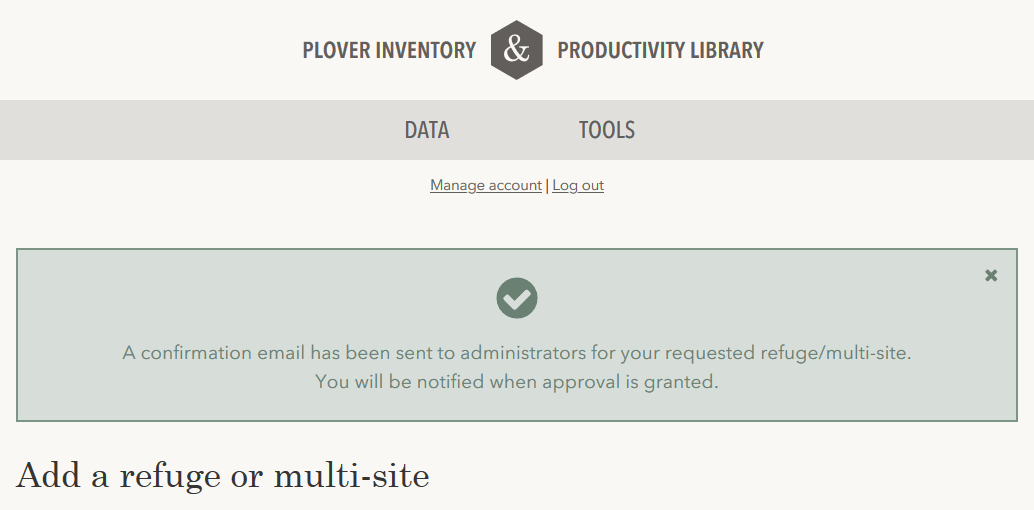
An email will be sent to administrators to review your request.
-
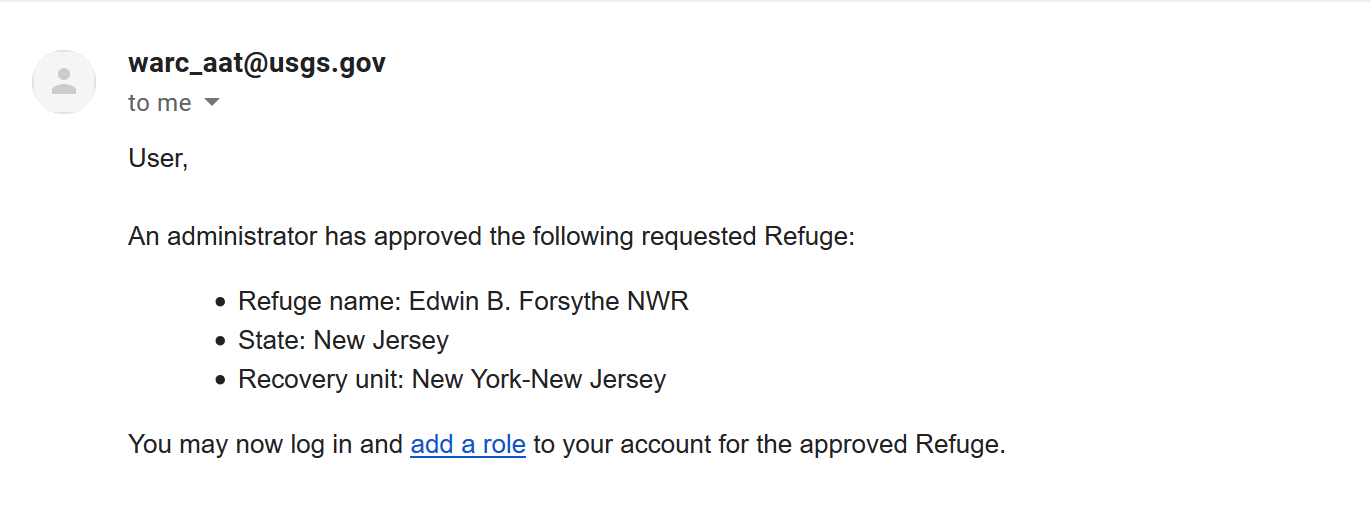
Once a requested site is approved, you will be notified via email.
-
The requested site will now be available in the drop-down list of known sites.
Survey data
Dashboard
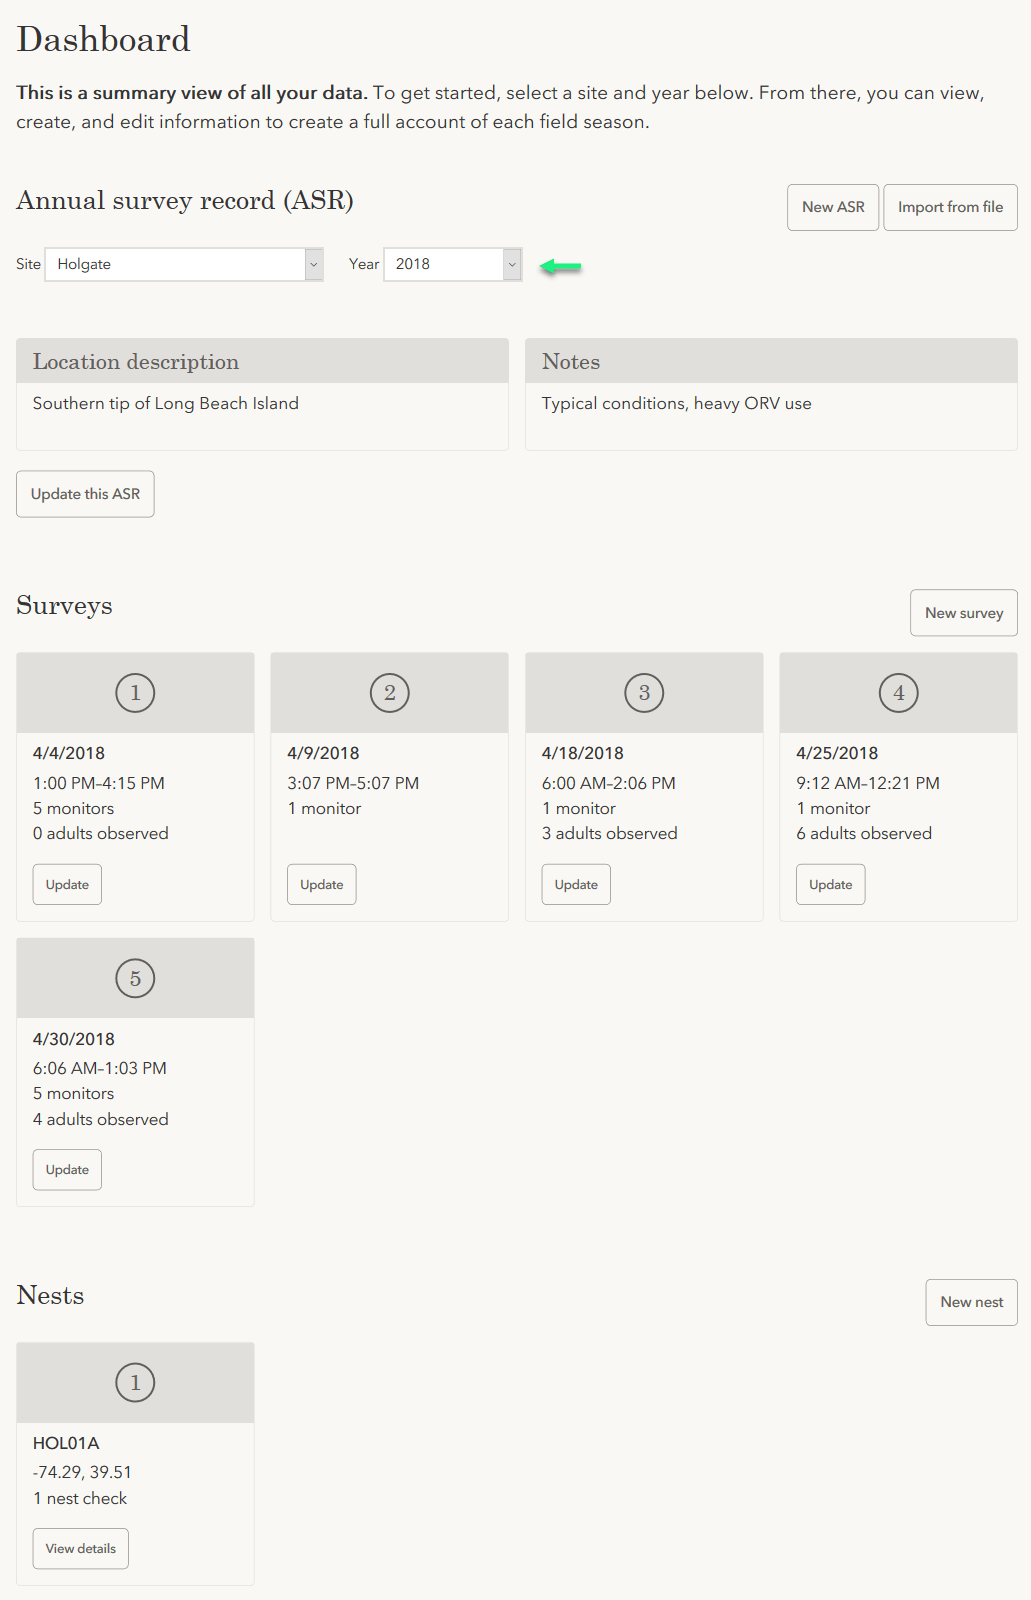
The PIPLweb data dashboard is the starting point for all data entry and basic review tasks.
Data are organized by site and year, which together are known as an annual survey record (ASR).
The dashboard displays all information recorded for one ASR at a time. A user may change which ASR is displayed on the dashboard by manipulating the Site and Year drop-down lists near the top of the page.
 (Note: each user may see a different list of available sites and years, depending on the roles and locations associated with their account. Users will only be able to access data from ASRs for which they have been previously authorized.)
The initial dashboard view for new users may be empty. When you are ready to enter data, refer to the next section for instructions on adding an ASR.

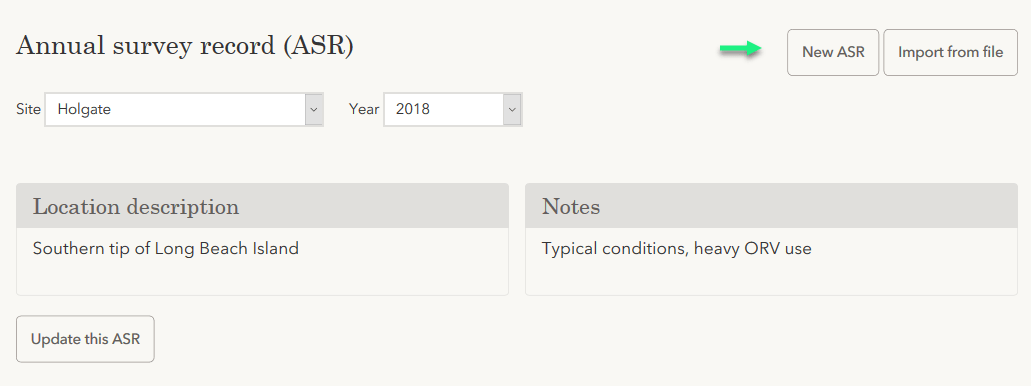
Add an annual survey record (ASR)
-
Click New ASR on the dashboard.
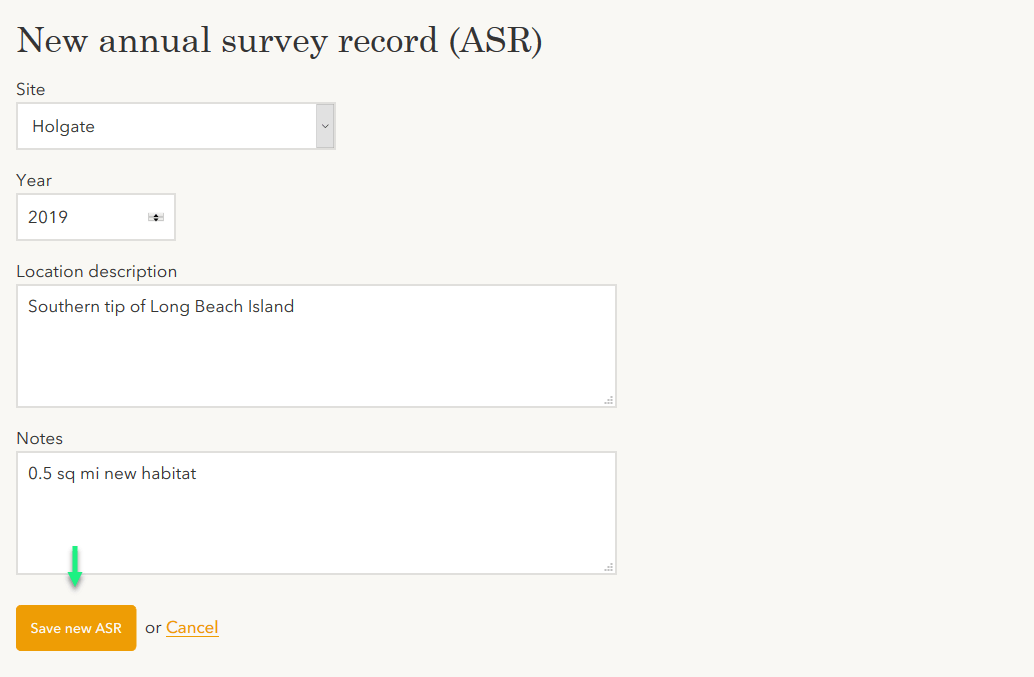
-
Complete the New ASR form and click Save new ASR.
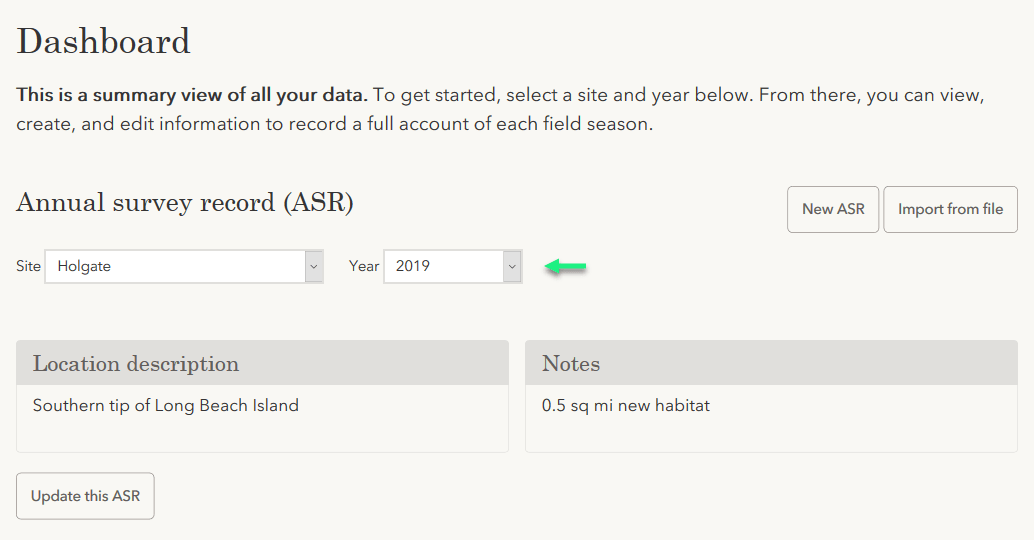
-
You will be redirected back to the dashboard, where the new ASR will now be displayed.
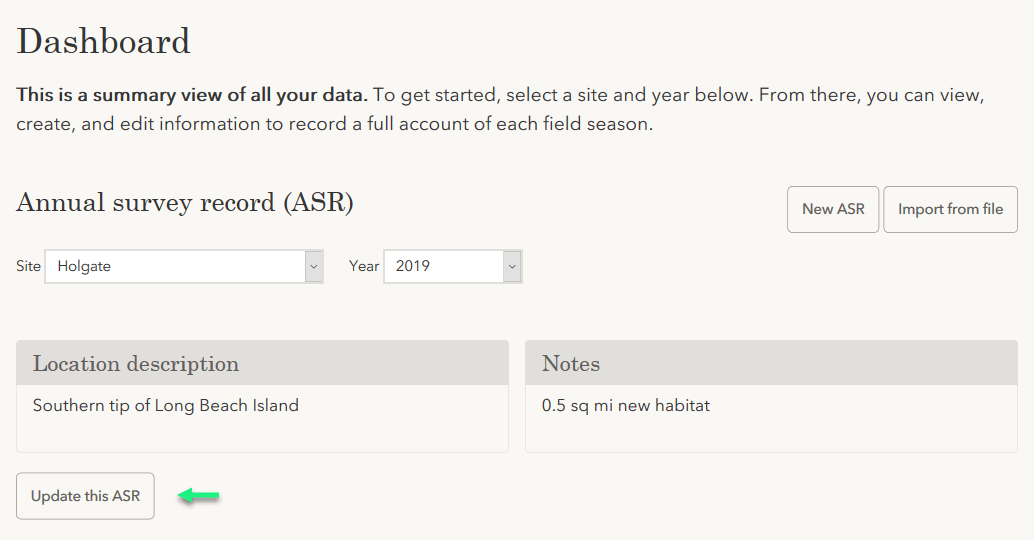
Edit an annual survey record (ASR)
-
Select the desired ASR on the dashboard and click Update this ASR.
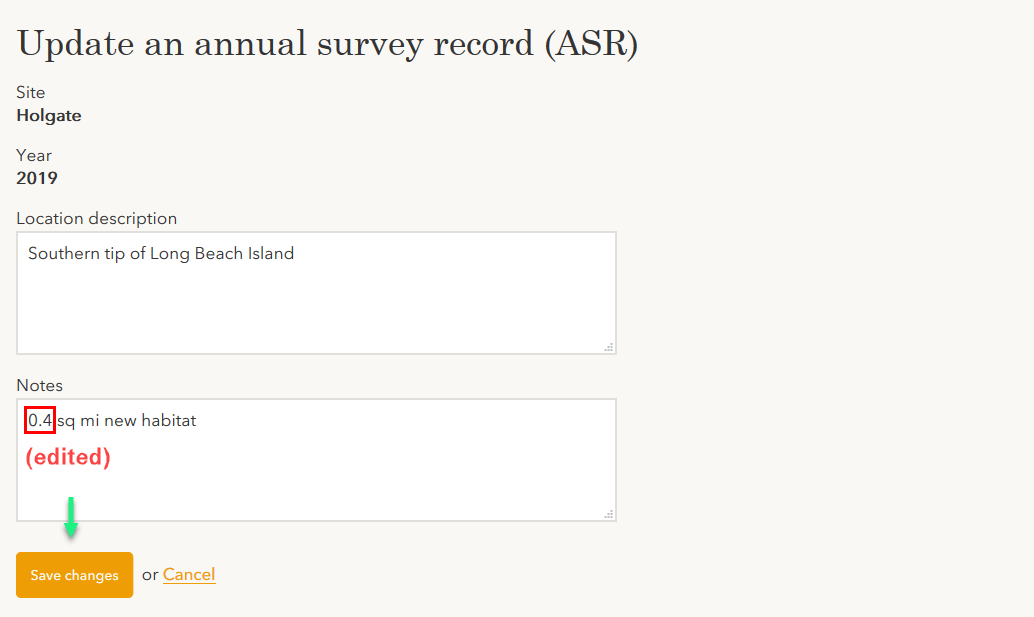
-
Complete the ASR update form and click Save changes. (Note: Changing the site or year properties on an existing ASR is prohibited. Instead, a new ASR should be created.)
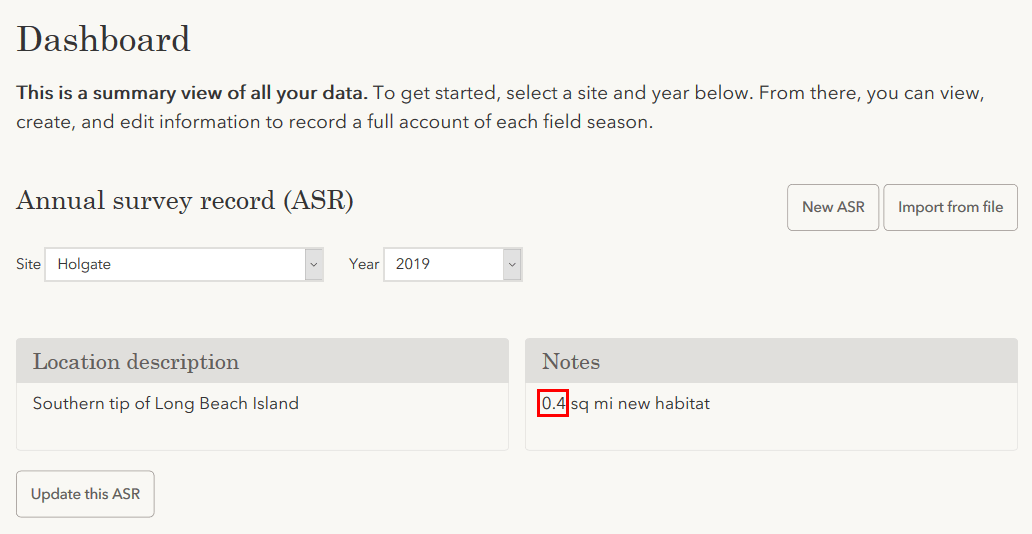
-
You will be redirected back to the dashboard, where the updated ASR will now be displayed.
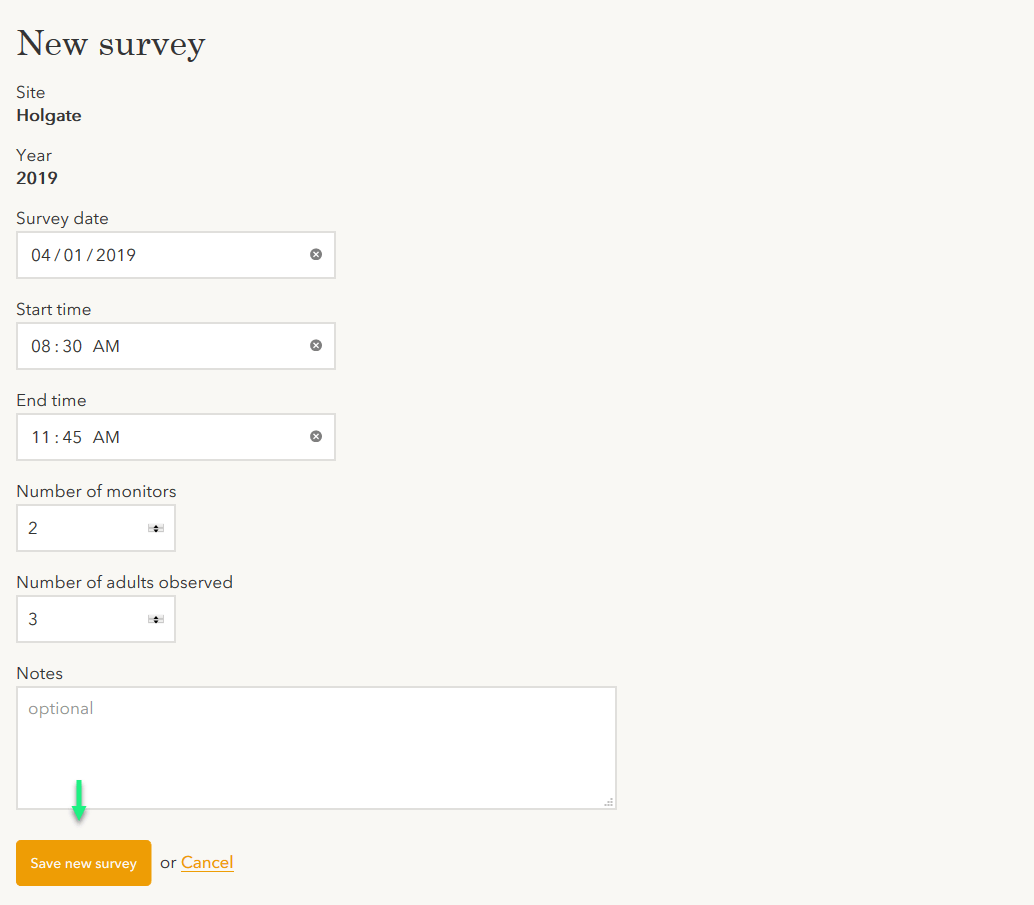
Add a survey
-
Click New survey on the dashboard.

-
Complete the new survey form and click Save new survey.
-
You will be redirected back to the dashboard, where the new survey will now be displayed.

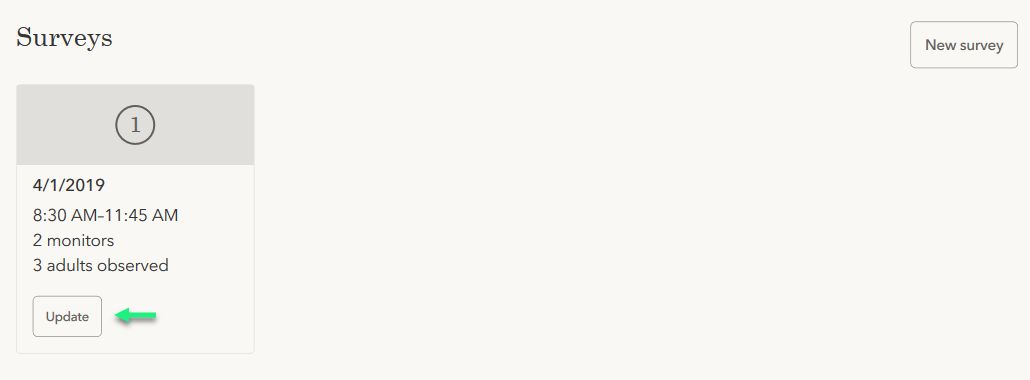
Edit a survey
-
Find the survey to be updated on the dashboard and click Update.
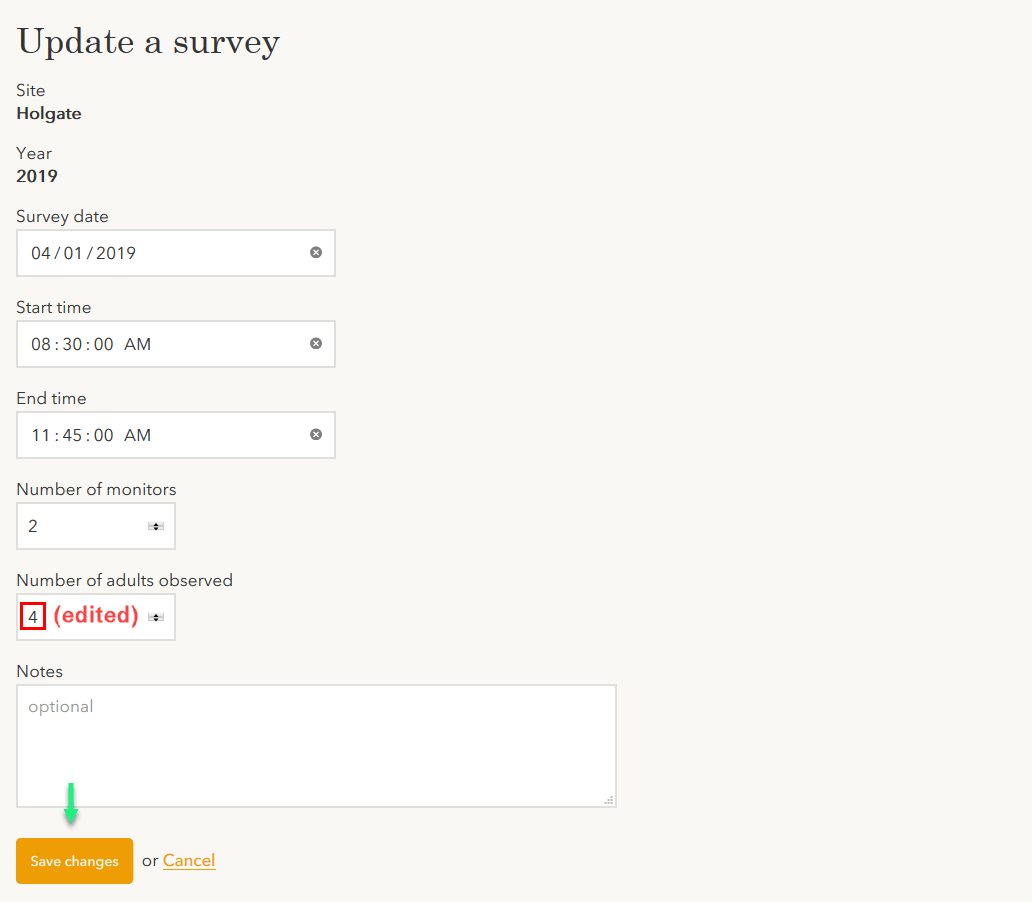
-
Complete the survey update form and click Save changes.
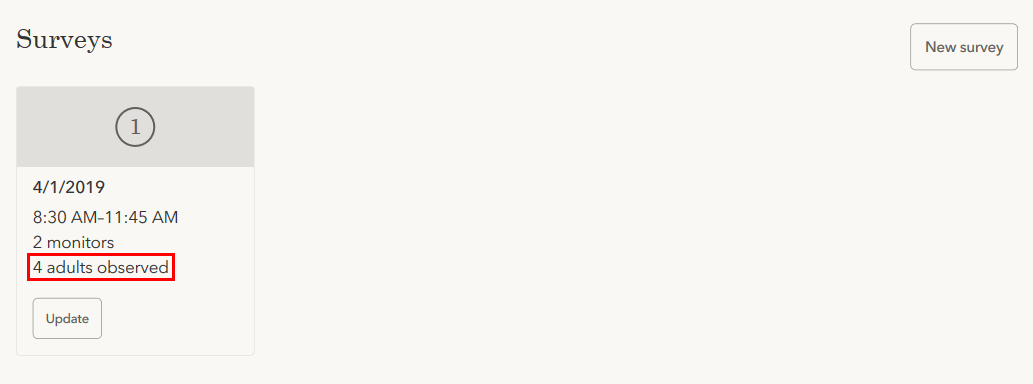
-
You will be redirected back to the dashboard, where the updated survey will now be displayed.
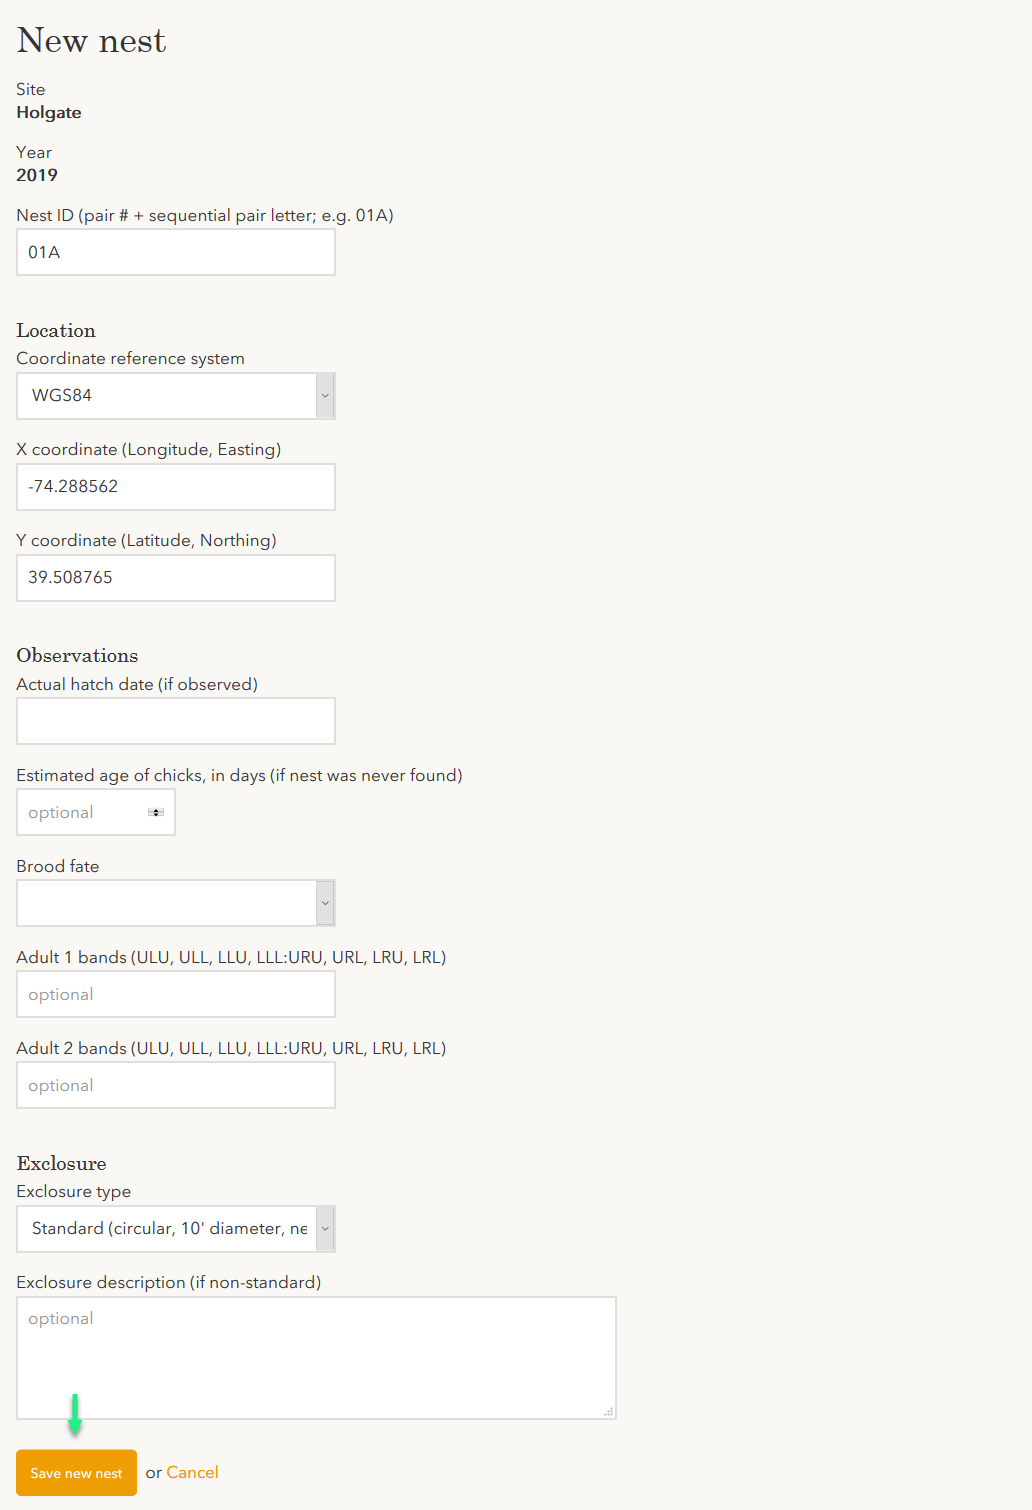
Add a nest
-
Click New nest on the dashboard.

-
Complete the new nest form and click Save new nest.
-
You will be redirected to the nest details page, where the new nest will now be displayed.
The new nest will also appear on the dashboard.
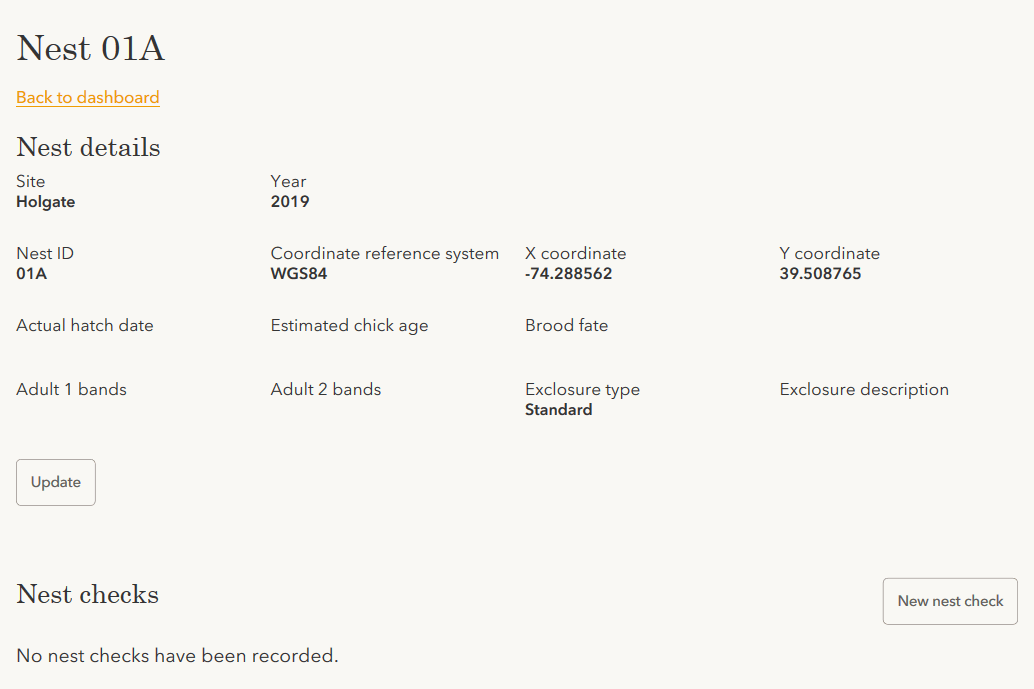
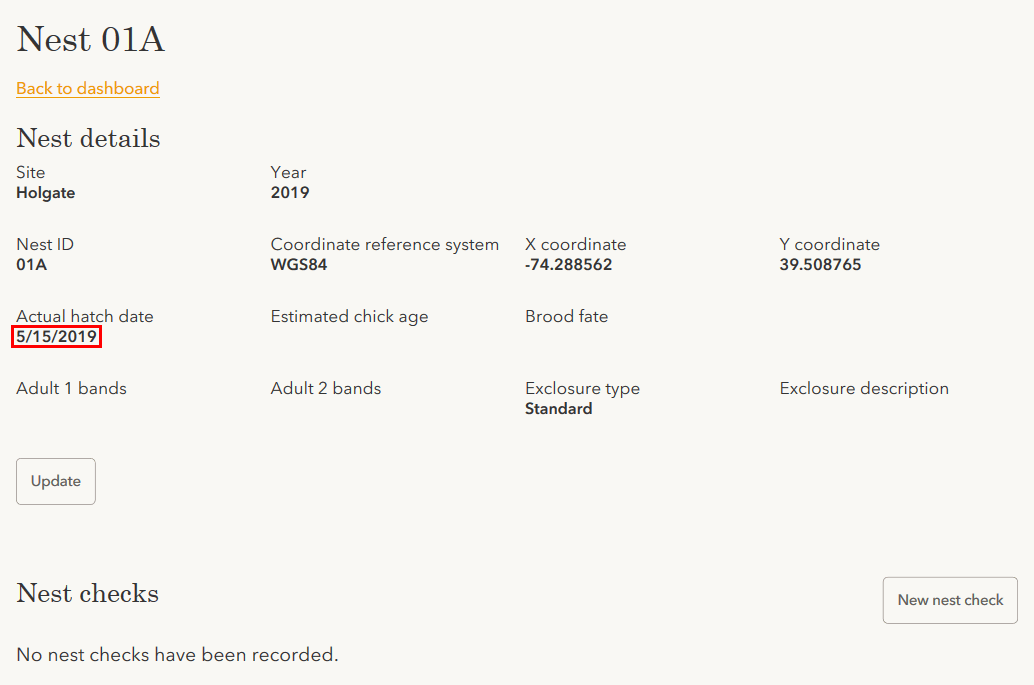
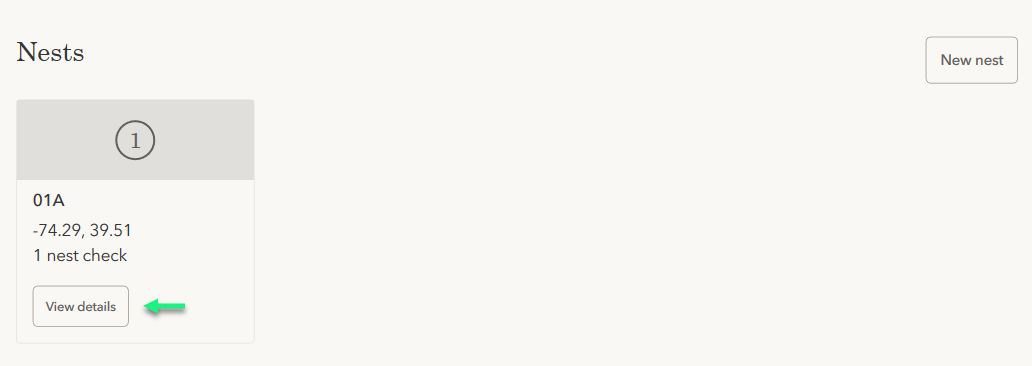
View nest details
The nest details page displays all the information recorded for one nest, including information about each nest check.
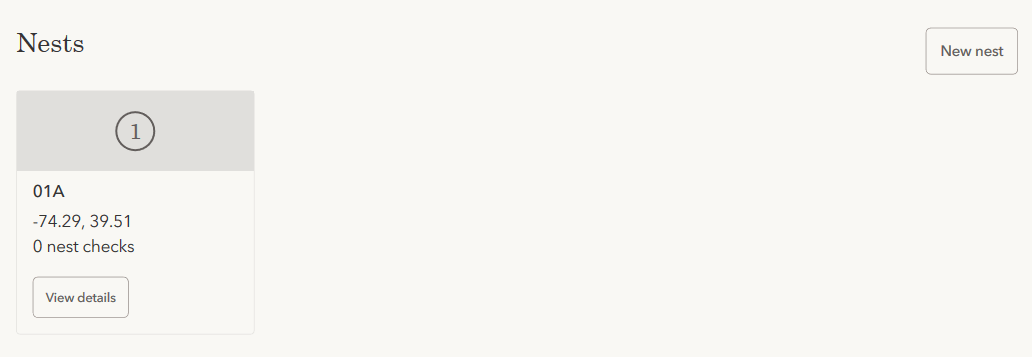
-
Find the desired nest on the dashboard and click View details.
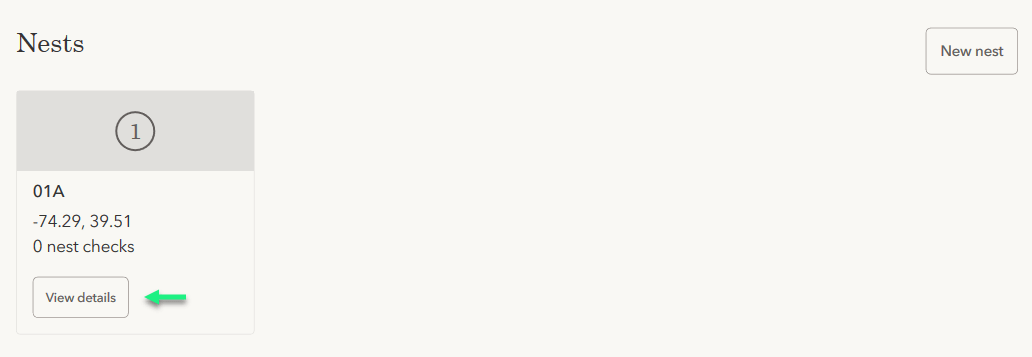
-
The requested nest details page will be displayed.

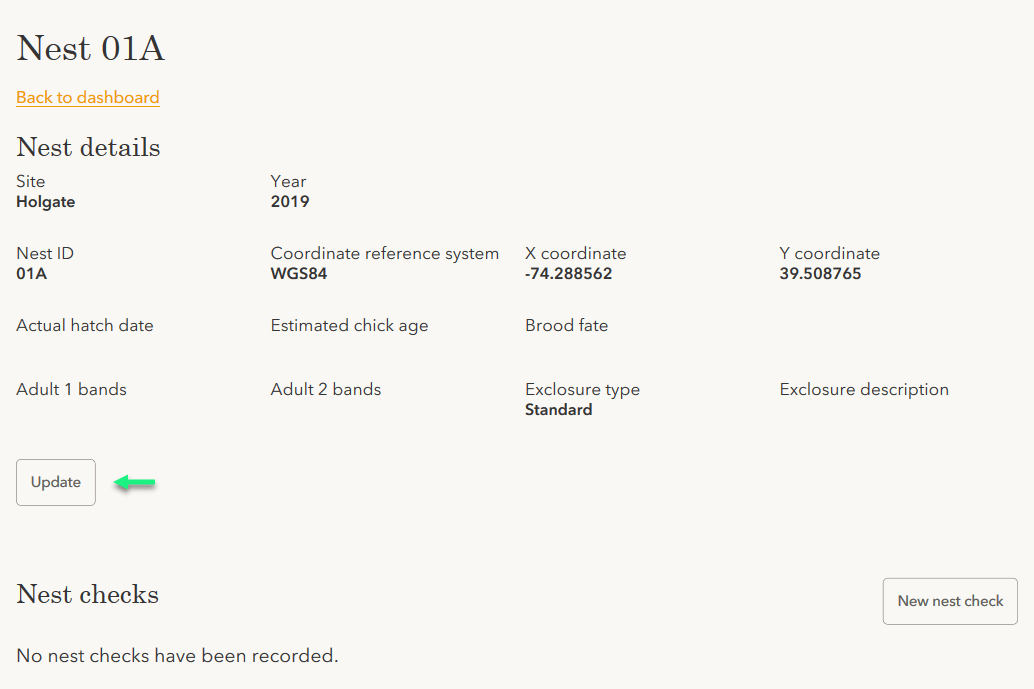
Edit a nest
-
Find the nest to be updated on the dashboard and click View details.
-
Click Update on the nest details page.
-
Complete the nest update form and click Save changes.
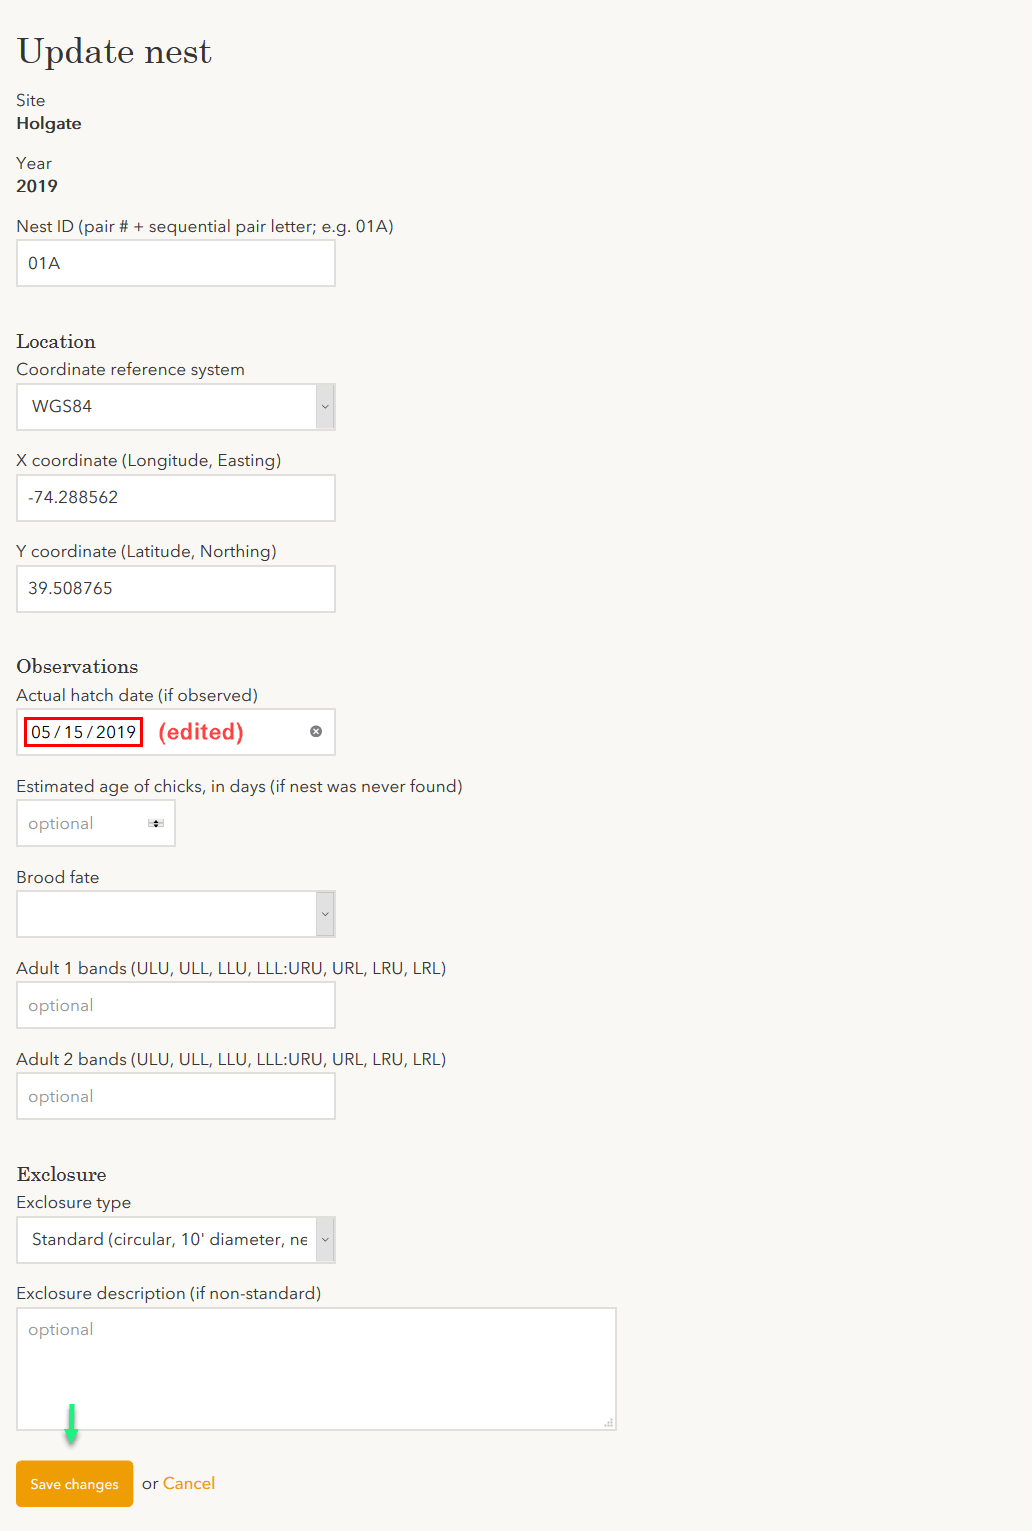
-
You will be redirected back to the nest details page, where the updated nest will now be displayed.
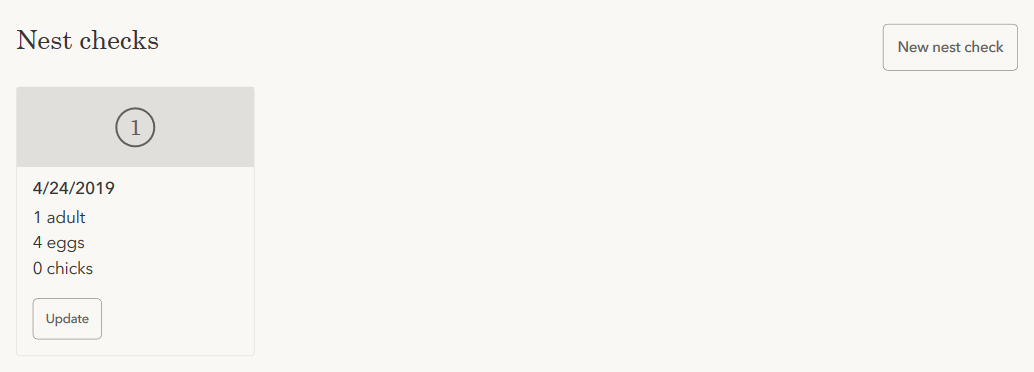
Add a nest check
-
Find the nest that was checked on the dashboard and click View details.
-
Click New nest check on the nest details page.

-
Complete the new nest check form and click Save new nest check.
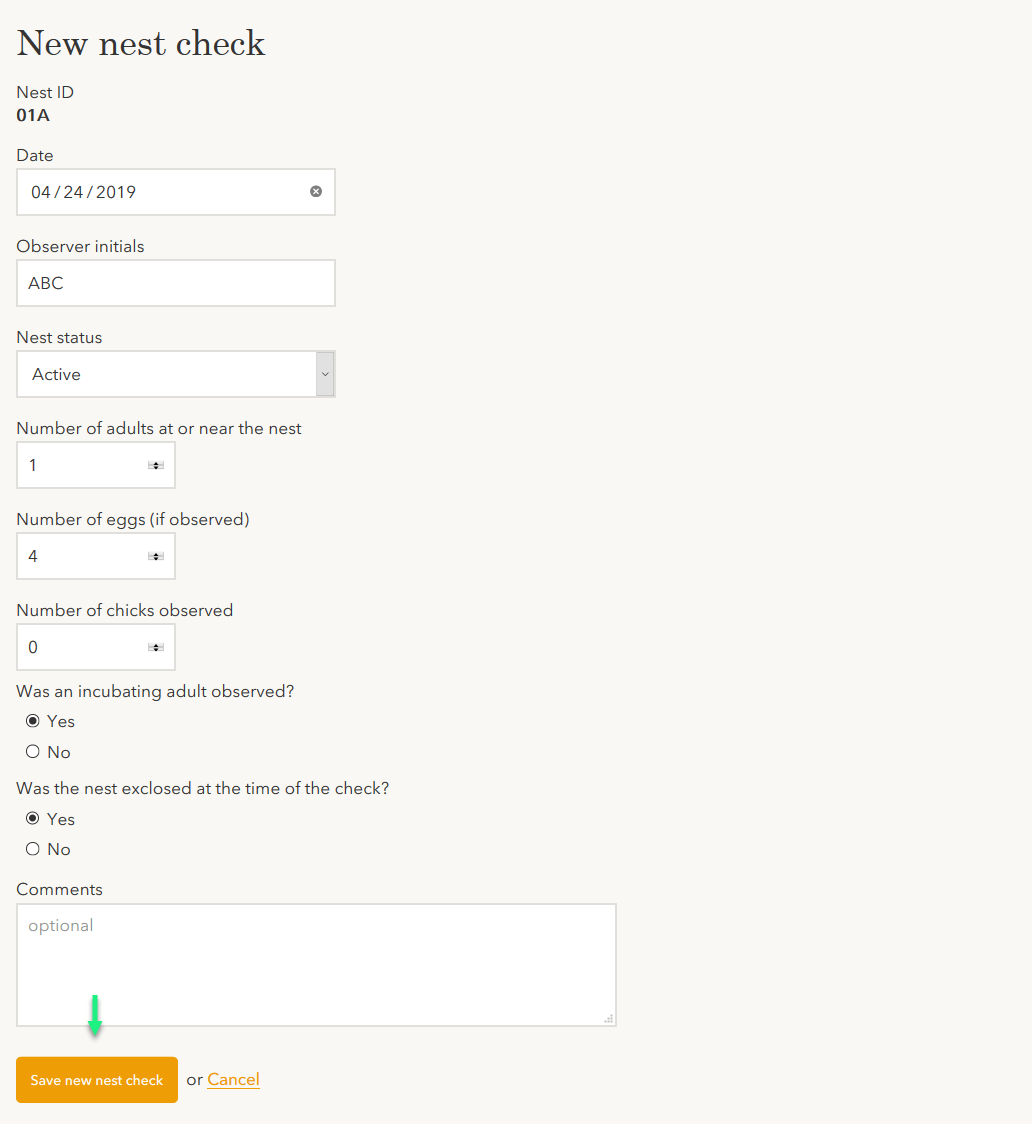
-
You will be redirected to the nest details page, where the new nest check will now be displayed.
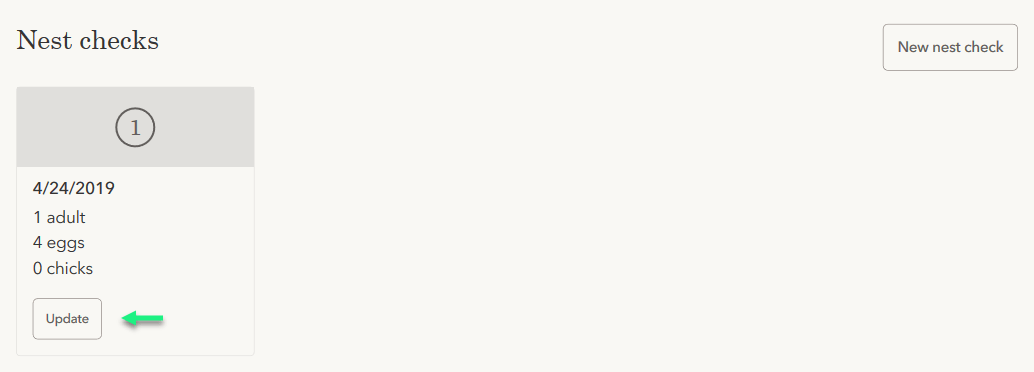
Edit a nest check
-
Find the nest that was checked on the dashboard and click View details.
-
Find the nest check to be updated on the nest details page and click Update.
-
Complete the nest check update form and click Save changes.
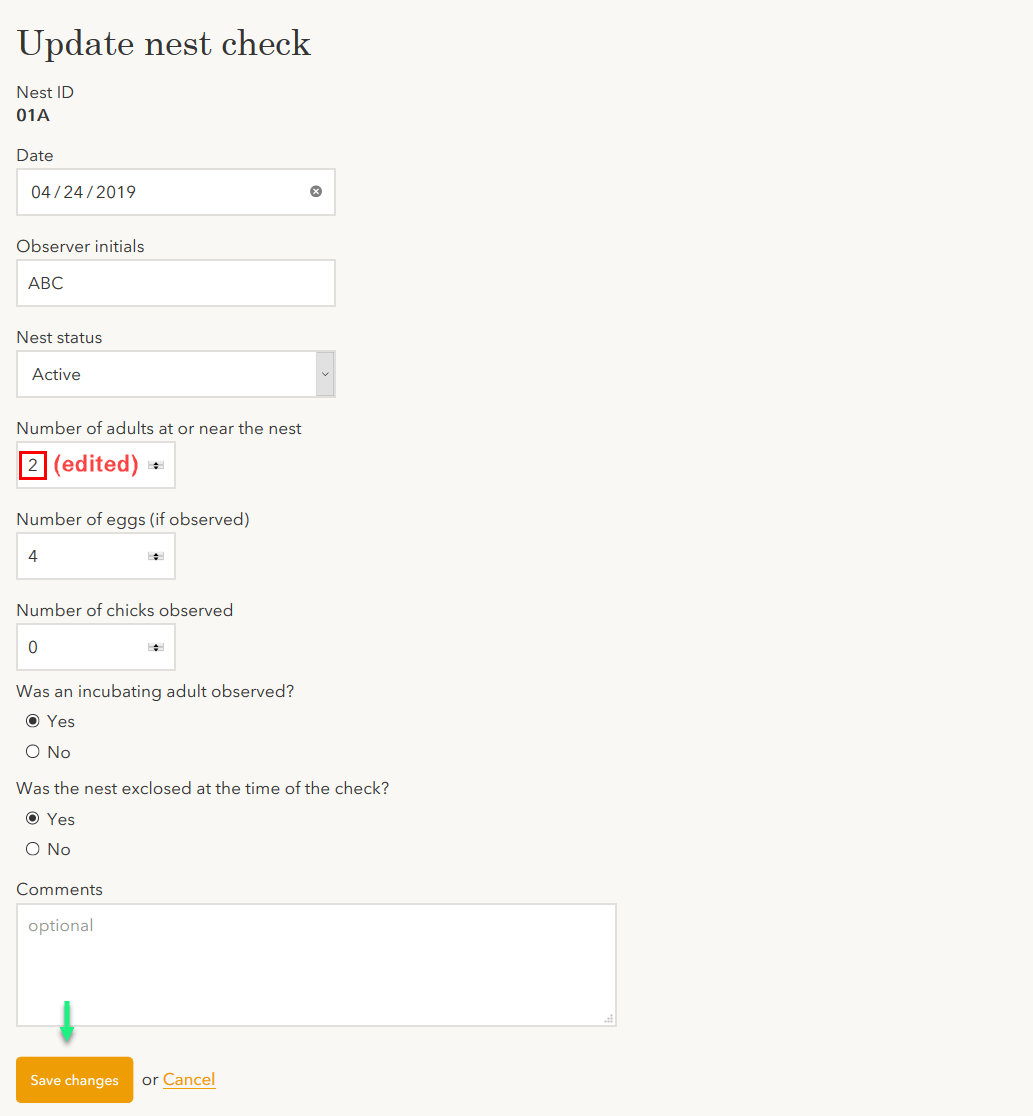
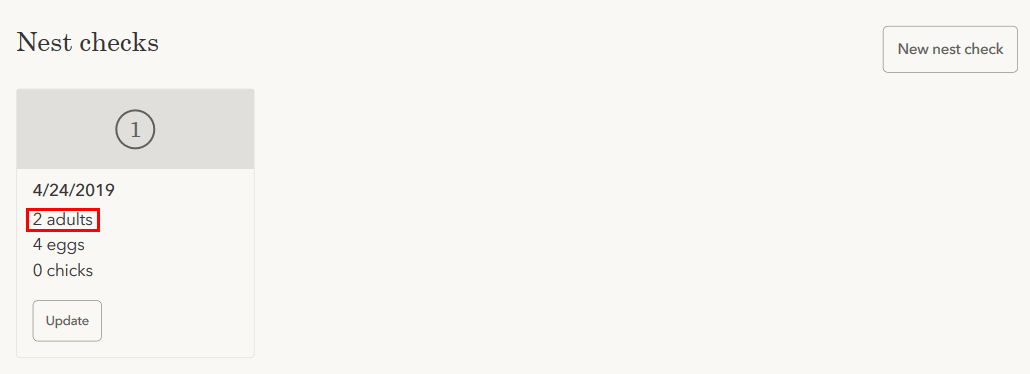
-
You will be redirected to the nest details page, where the updated nest check will now be displayed.
Import survey data
Users may choose to import field data from file instead of manually entering the data into PIPLweb. This is especially useful when field data are already being tracked throughout the season in another field data management application, such as NestStory or Survey123.
Before importing, data must be formatted in accordance with one of the following spreadsheet template files:
To import data from file:
-
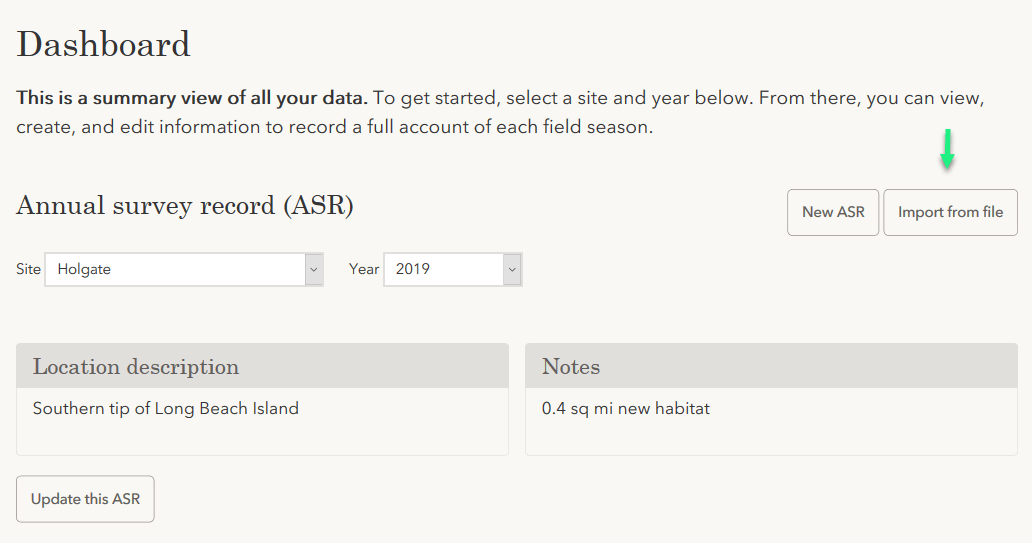
Click Import from file on the dashboard.
-
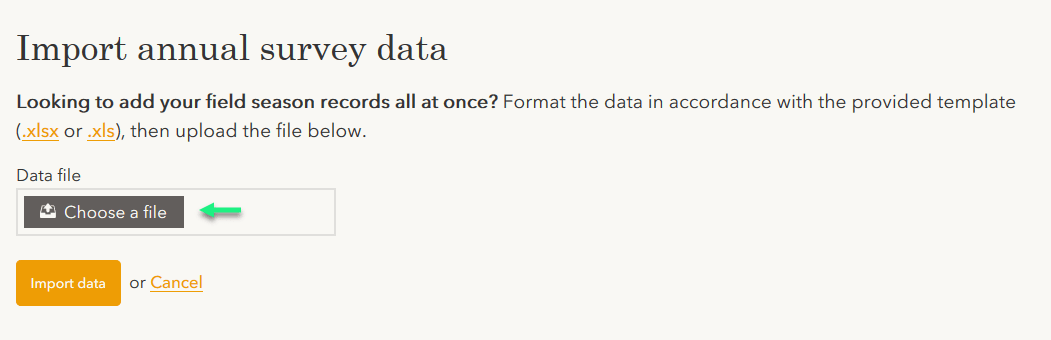
Click Choose a file.
-
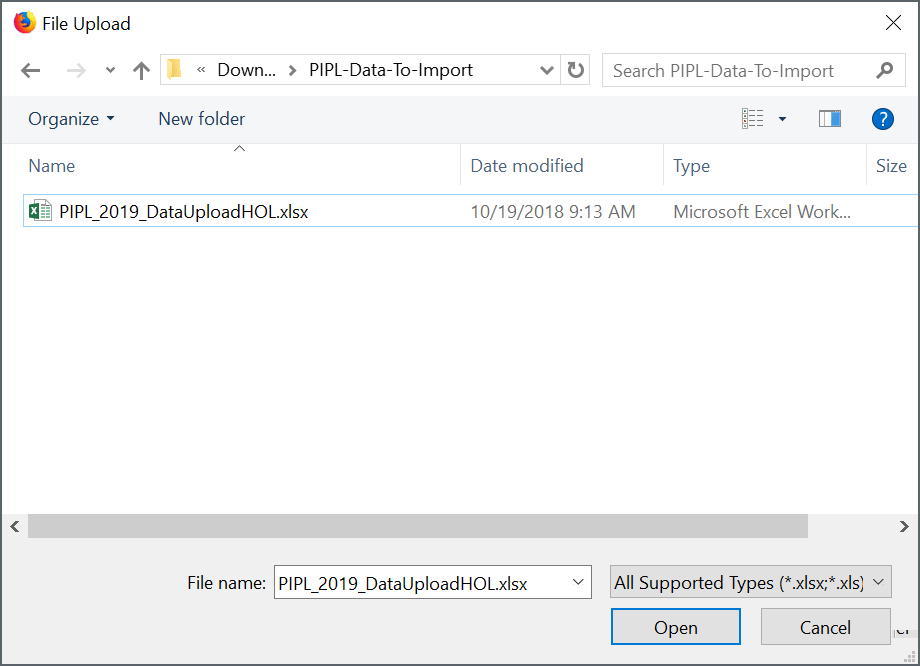
Choose a file to import from the file upload dialog. (Note: This dialog may look different, depending on your operating system.)
-
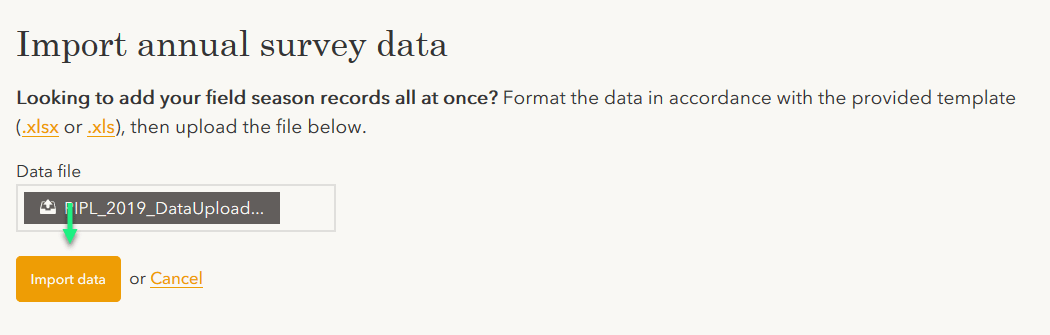
Click Import data on the import page.
-
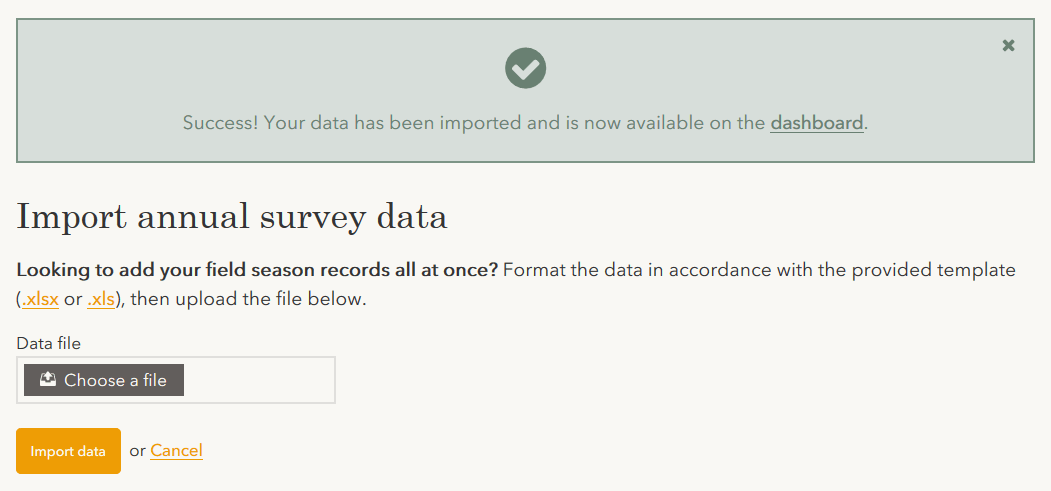
(a) If the import is successful, a success message will appear on the page.
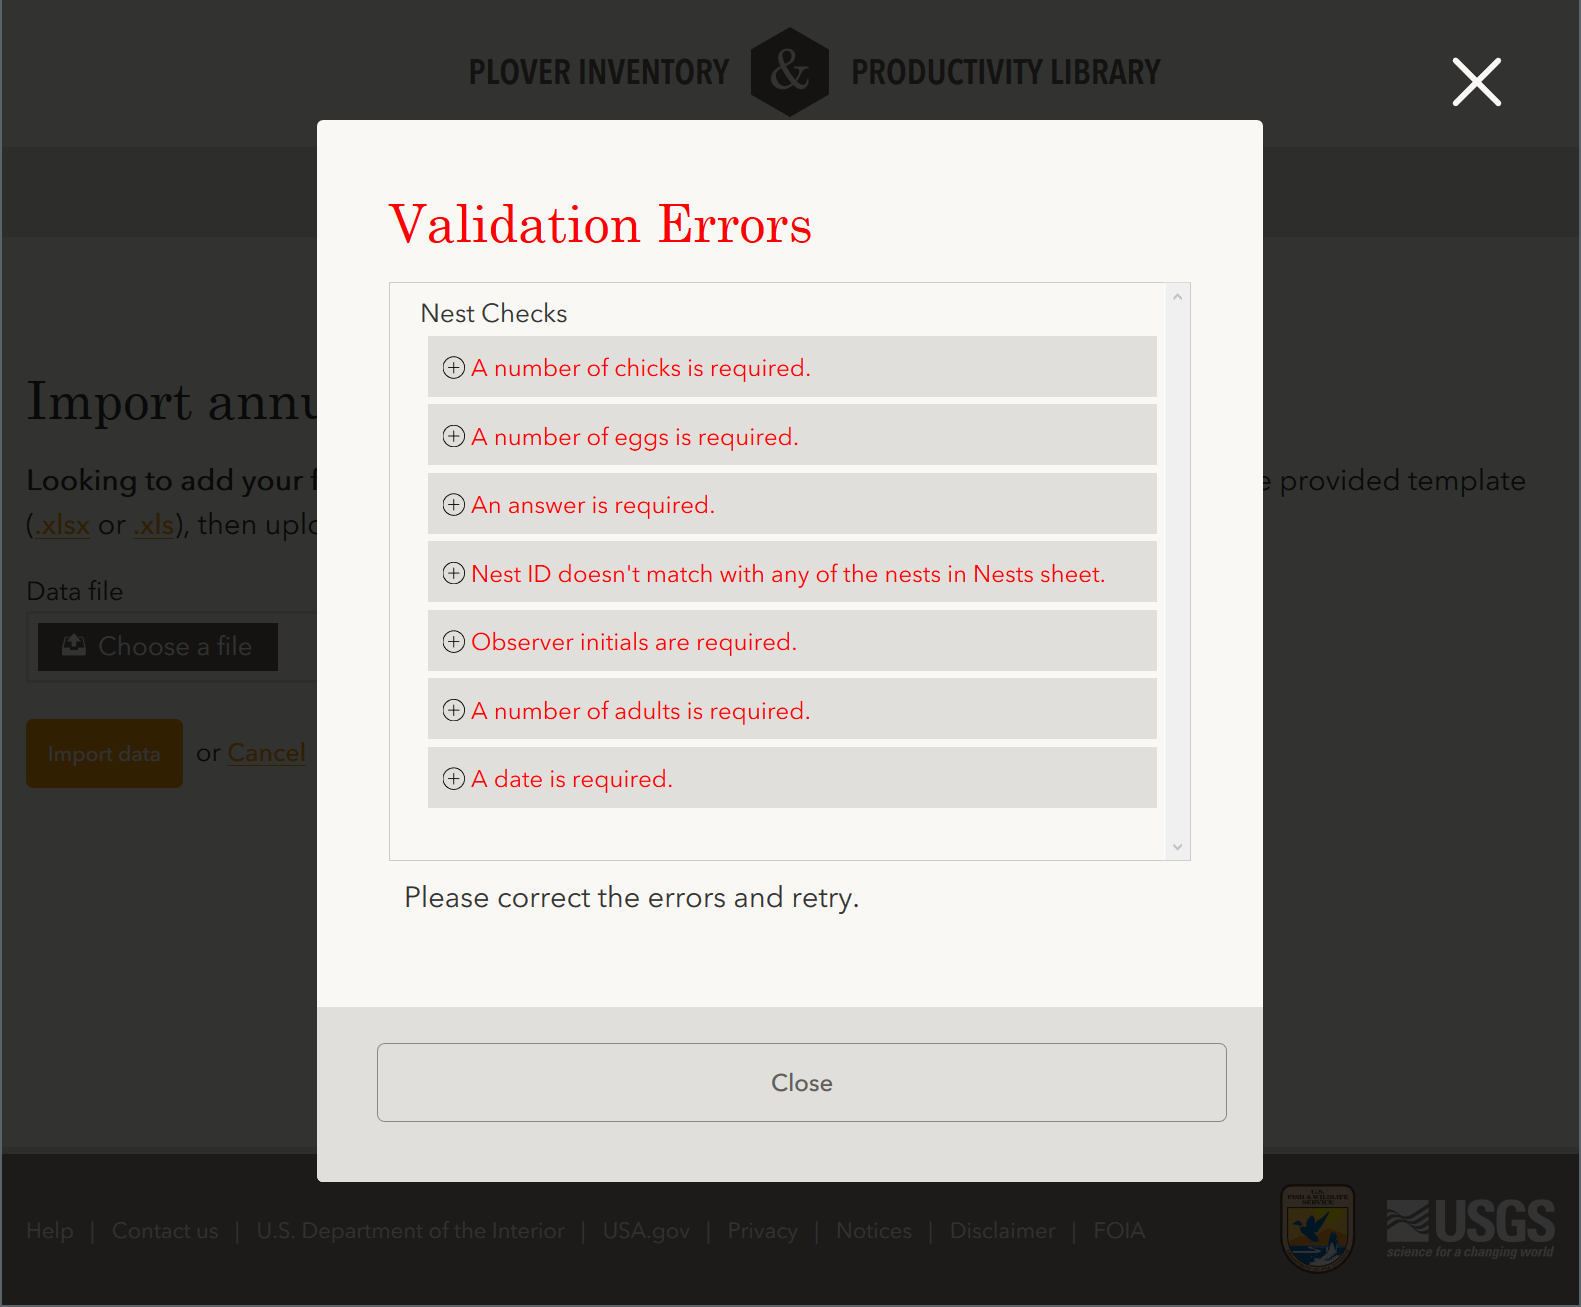
(b) If the imported file has minor validation issues, such as empty spaces in required columns, an overlay will appear on the page. The overlay will contain a list of line-by-line errors to correct. Address each error and try importing the file again.
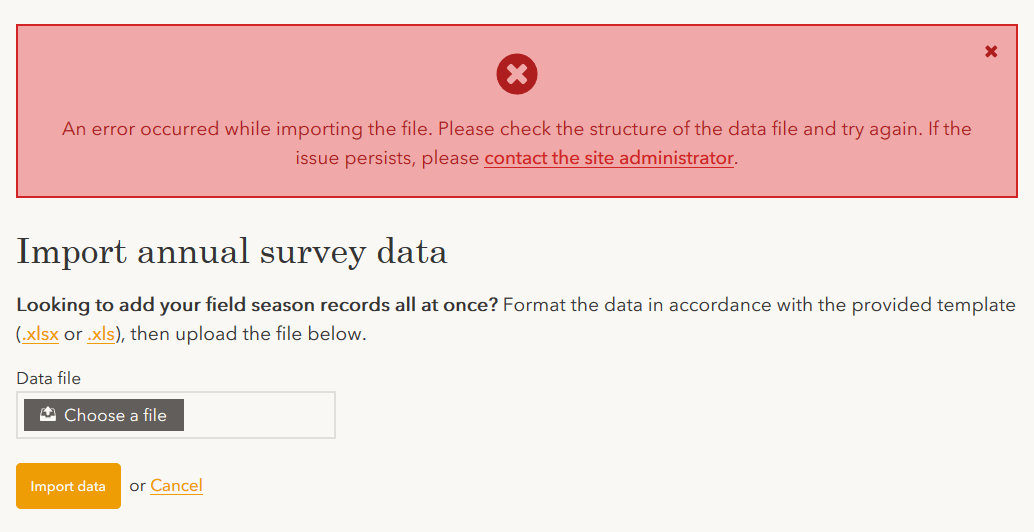
(c) If the imported file has major validation isues, such as missing columns or worksheets, a failure message will appear on the page.
Documentation
Protocol framework
Read the draft protocol.
Metadata
In development.